
Peony in Gongbi style
Hello my dear friends!
Today I will show you something special! I've been to this was that I was not able to participate in Inktober. Why? Because the whole month I studied at an online course on the style of Chinese painting-Gongbi!
I did! Finally, I'm ready to show you my first work in this style and tell you about Gongbi.
I painted for a month and learned a lot for myself. Gongbi has a second name "the careful brush". Court Imperial artists painted in this style in China. I've wanted to learn it for a year. But I didn't get a chance to go to class. And then a miracle happened, I found an online course.
What you need to know about the style of Gongbi
This is contour painting. First, the outline is drawn. The outline should be a beautiful graphic work. There are 18 contour lines for gongbi that need to be able to draw. Next, the outline drawing is colored with colors. The paint is applied to the drawing is very liquid, layer by layer. In my work somewhere more than 25 layers of paint. Paper for gongbi very thin! See how it shines through the banknote

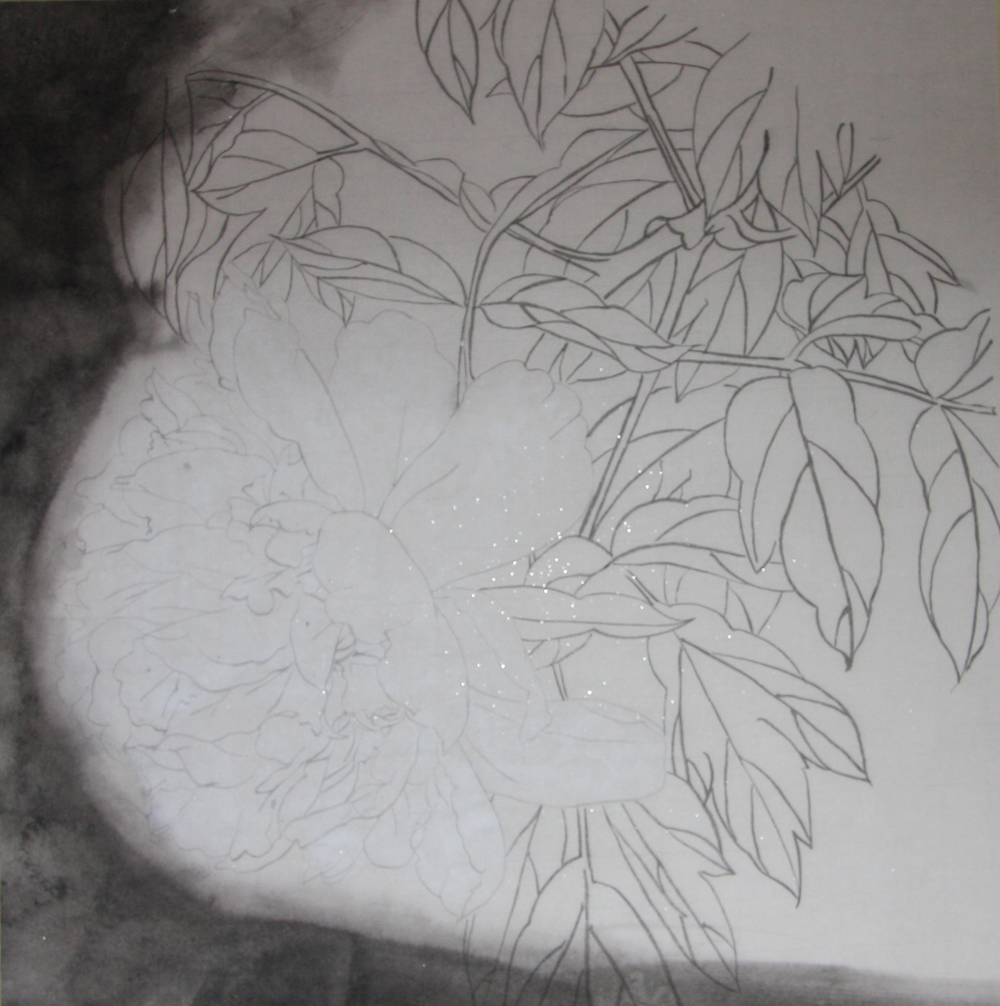
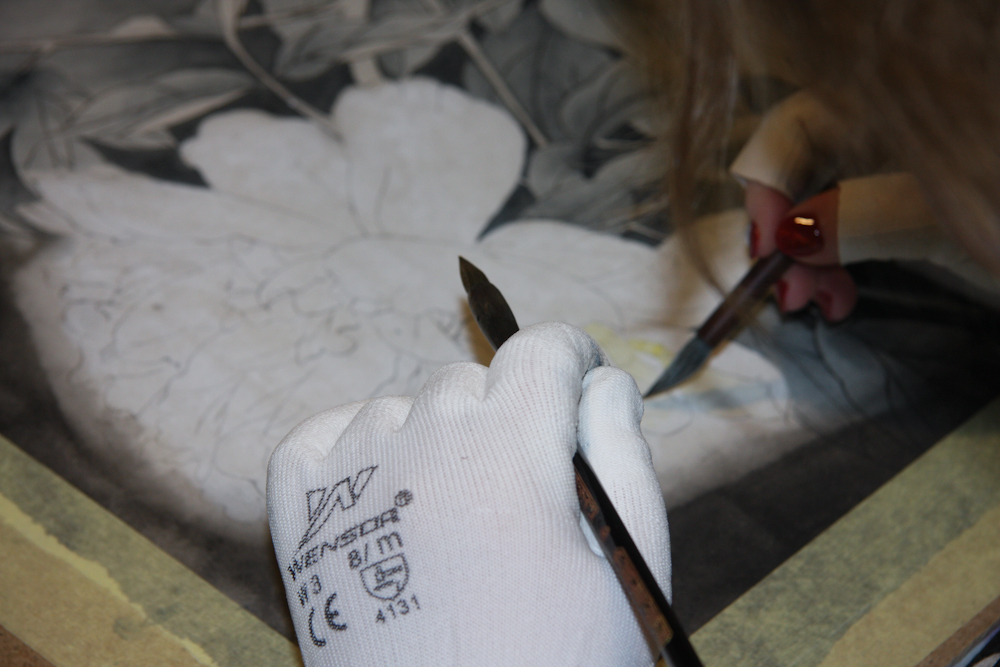
So, I've got to work! I drew the outline of a peony. I have little skill with contour lines. I need to train more! You see the glitter on the paper - it really glitters because of the alum.

Then I learned to paint the background with effects.
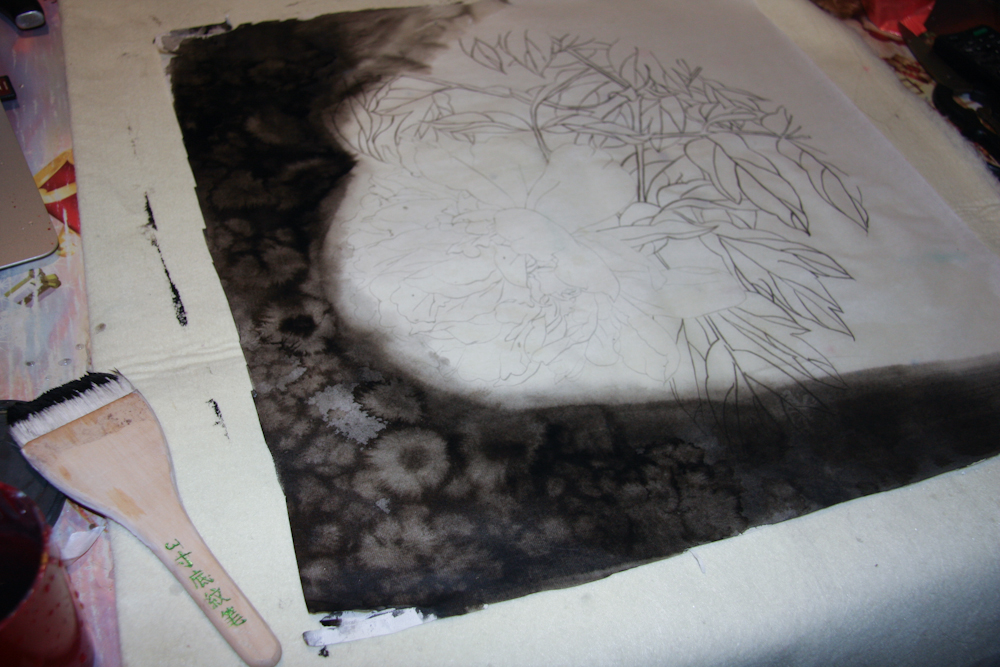
But I got carried away and made too many spots, which merged after drying. Also, I first incorrectly pulled the paper, so I had to cut off part of the background.
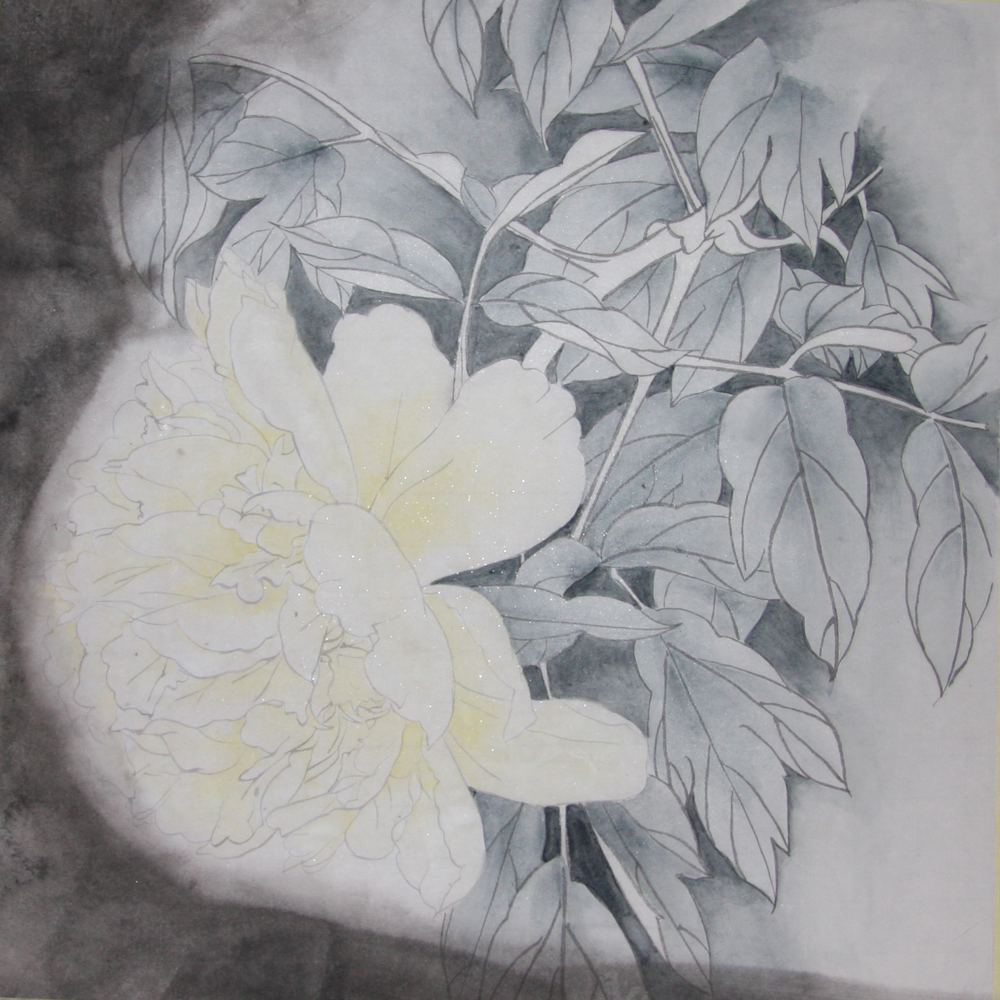
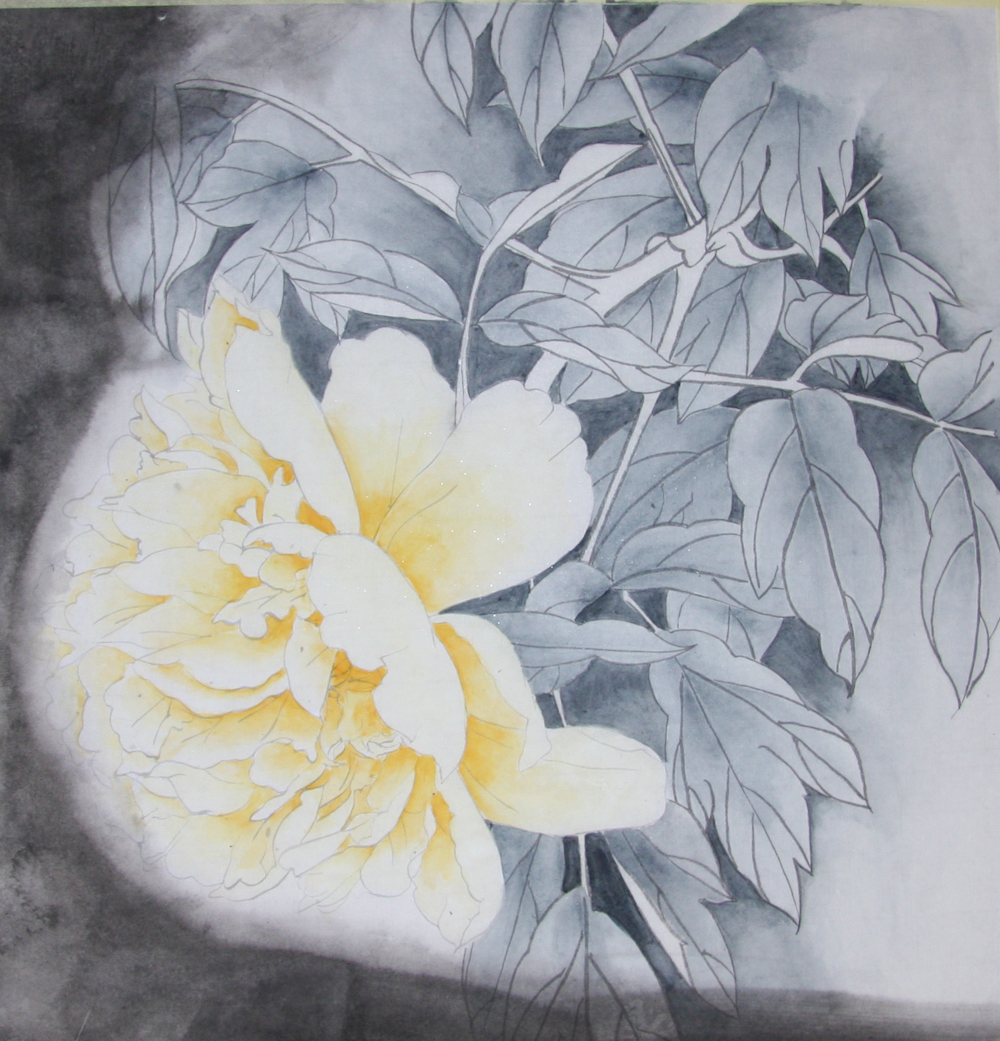
Then I mixed black Chinese ink and blue mineral paint. I painted the leaves with this color in several layers. Then I painted the background between the leaves. I used one tone of paint, but with each layer my drawing became darker.
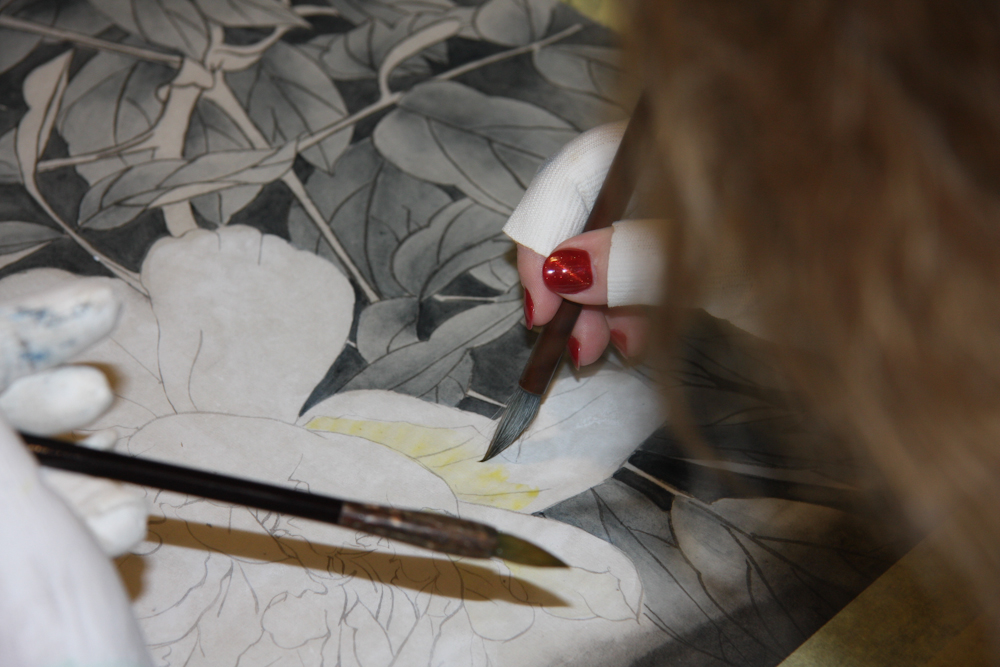
I also applied the first yellow layer of color to the peony.
Gongbi paper absorbs fat, so I paint with gloves so I don't leave marks on the paper. In the photo you can look at my hands ))) I also work with two brushes. One brush I put the paint, and the second brush I wash the paint with water, so it turns out the color gradient.
I add yellow paint to the darkened places of peony and folds on the petals.
At this stage, I added brown to the yellow paint. And I continue to darken the peony petals.
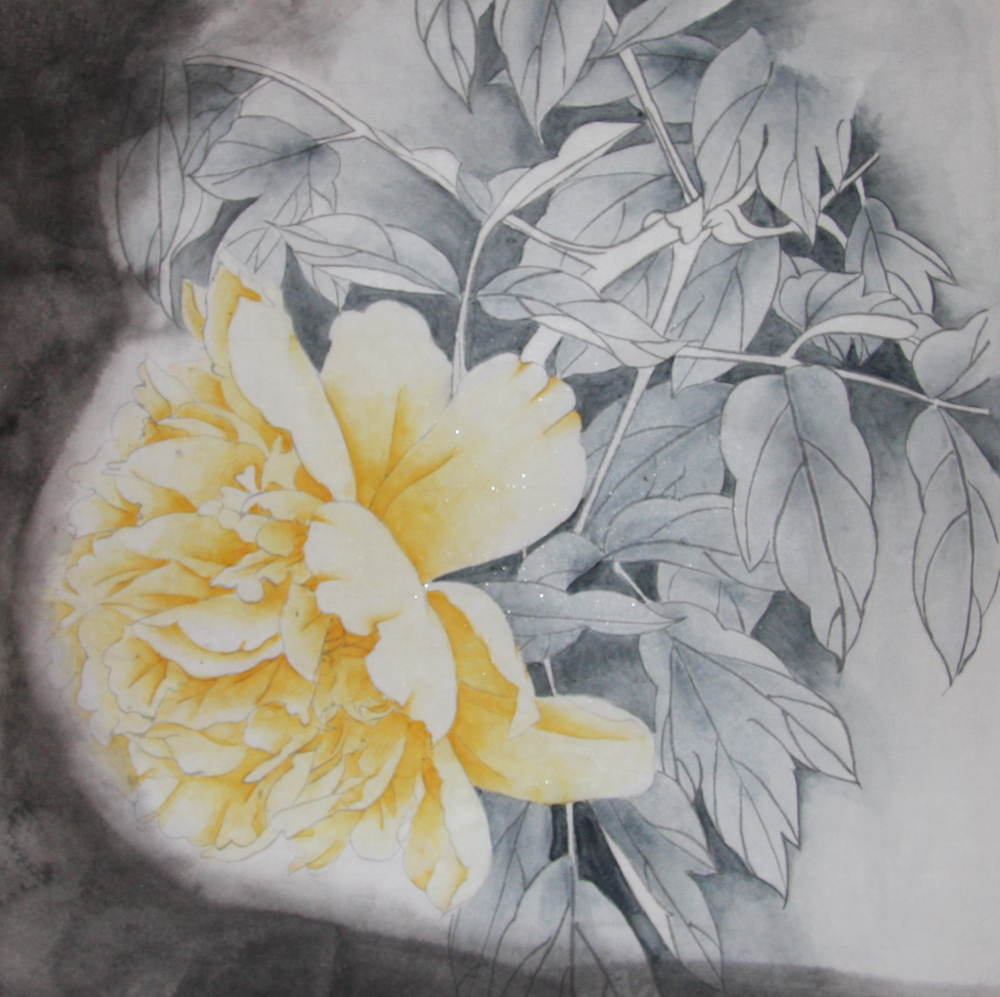
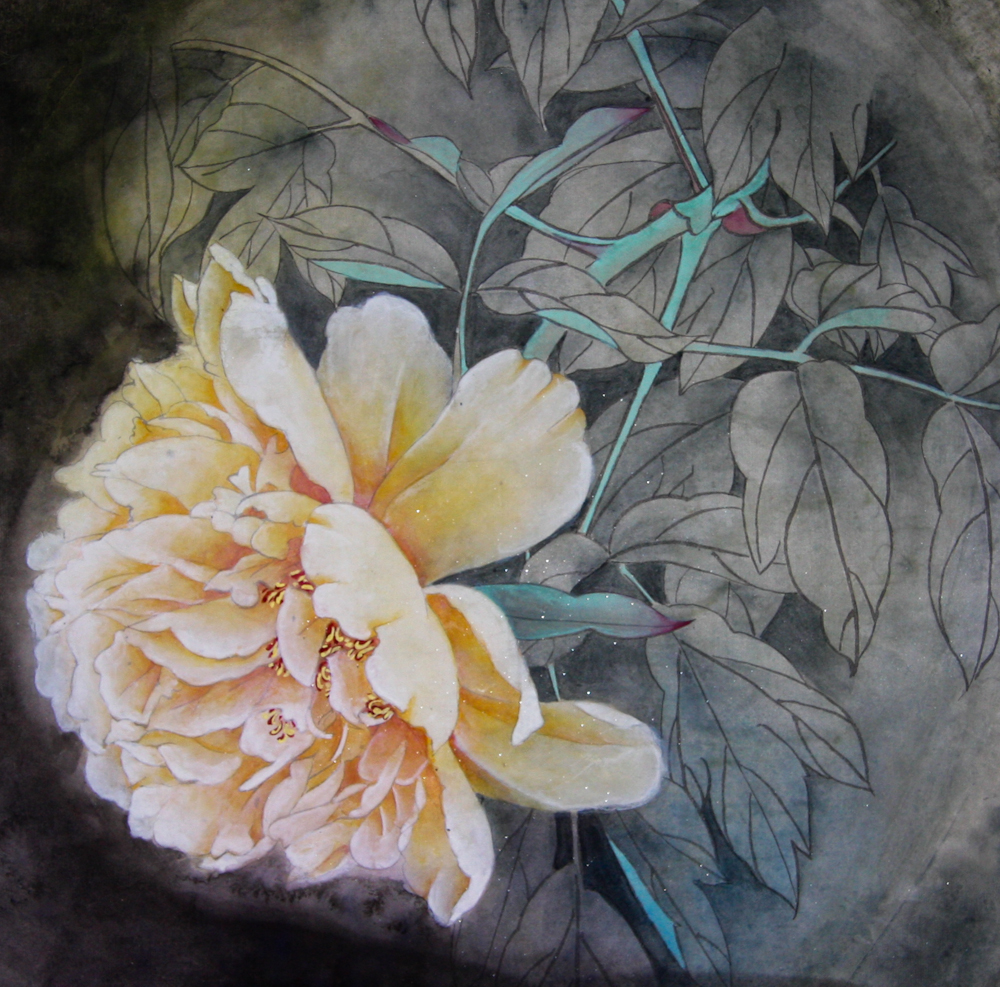
Here in the paint added burgundy color. It makes the folds and dark spots of the flower even darker in color. Also here I took the white color and painted the tips of the petals and the lightest places of the peony. Also here I took the white color and painted the tips of the petals and the lightest places of the peony. Green paint I painted the stems, adding reddish shadows.
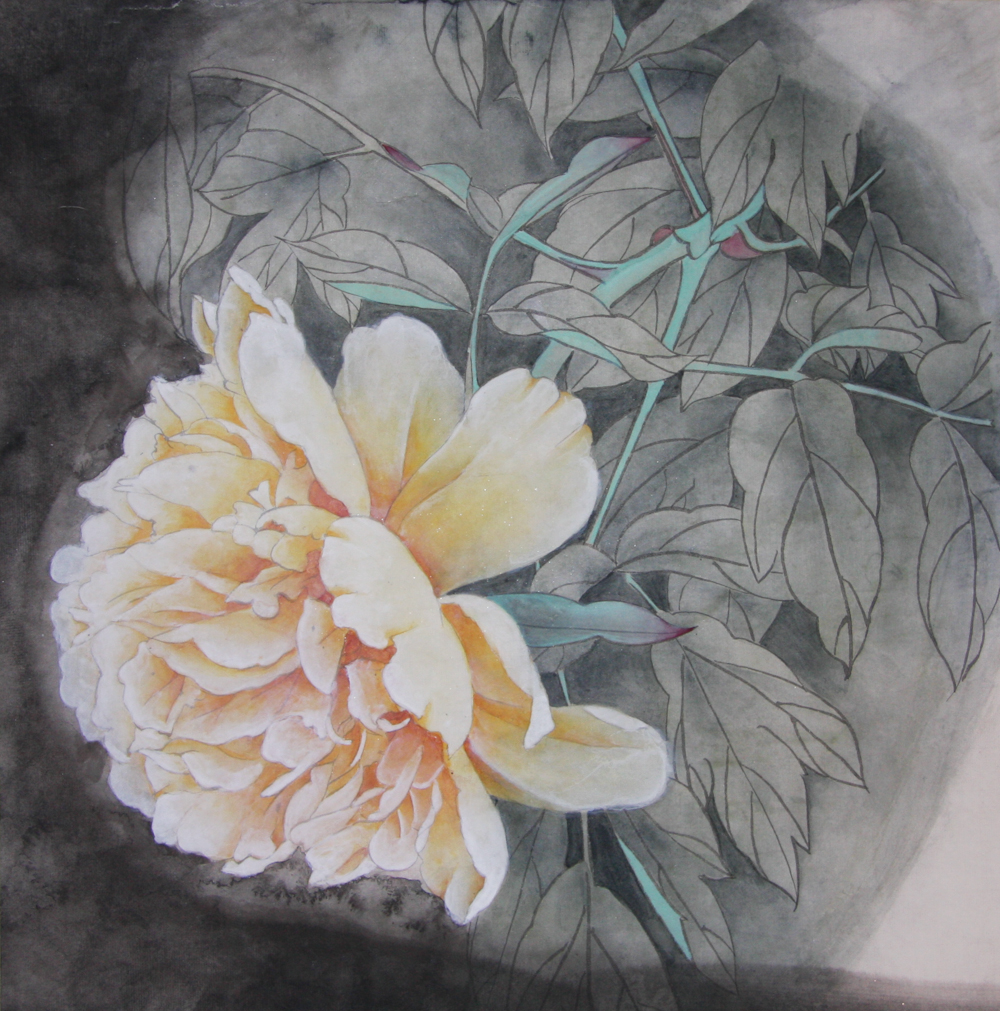
The last stage is the background. I made a lot of layers in different colors-black and blue and khaki. On the background I added color spots-yellow, purple and blue. And also added stamens!
The picture is ready. It really had a lot of layers!!
Cheers
Veta
bts name veta-less
Your opinion is celebrated and welcomed, not banned or censored!