
Burn, Baby, Burn! ~ My Wood Stove: Part 3
"Our first wood fired winter in New Hampshire was a great success."
- @creatr -
I absolutely love wood heat.
Wood is very stable and does not require high technology (i.e. things like tanks or cryogenics) for storage. It is relatively easy and safe to handle and can be readily cut to size. Wood is widely available and can be utilized for heat with a fairly simple apparatus.
You can read the first two installments of this story here and here.
This chapter tells how my stove worked even better than expected, where and how I got the wood I used to feed the fire, and what our first winter with wood heat was like.

The blazing warmth of fire... ~ Image courtesy of Vladimir Maric
Homemade Wood Stove - Part 3
New Hampshire winters were cold in the 1970s.
I remember rising some mornings, checking the thermometer outside, and seeing minus thirty degrees fahrenheit or colder.
As an aside, I've struggled to find "official" records of the temperatures during that period which show anything nearly that cold. I did however find a recent record of the temperature atop Mount Washington, about thirty five miles from where we lived at the time.
After the stove was installed,
it was time to learn the day to day ins and outs of operating it. On any typical morning, the wood in the stove from the previous day was mostly, if not all, burned up.
However, there were usually smoldering coals still hot in the fire box, so the first thing to do was to slide both the flue damper and the air intake damper to their full open position. This would allow any remaining wood or coals to fully ignite, getting a good airflow going.
With the air moving at a good clip through the system, opening the stove door was less likely to eject smoke into the house.
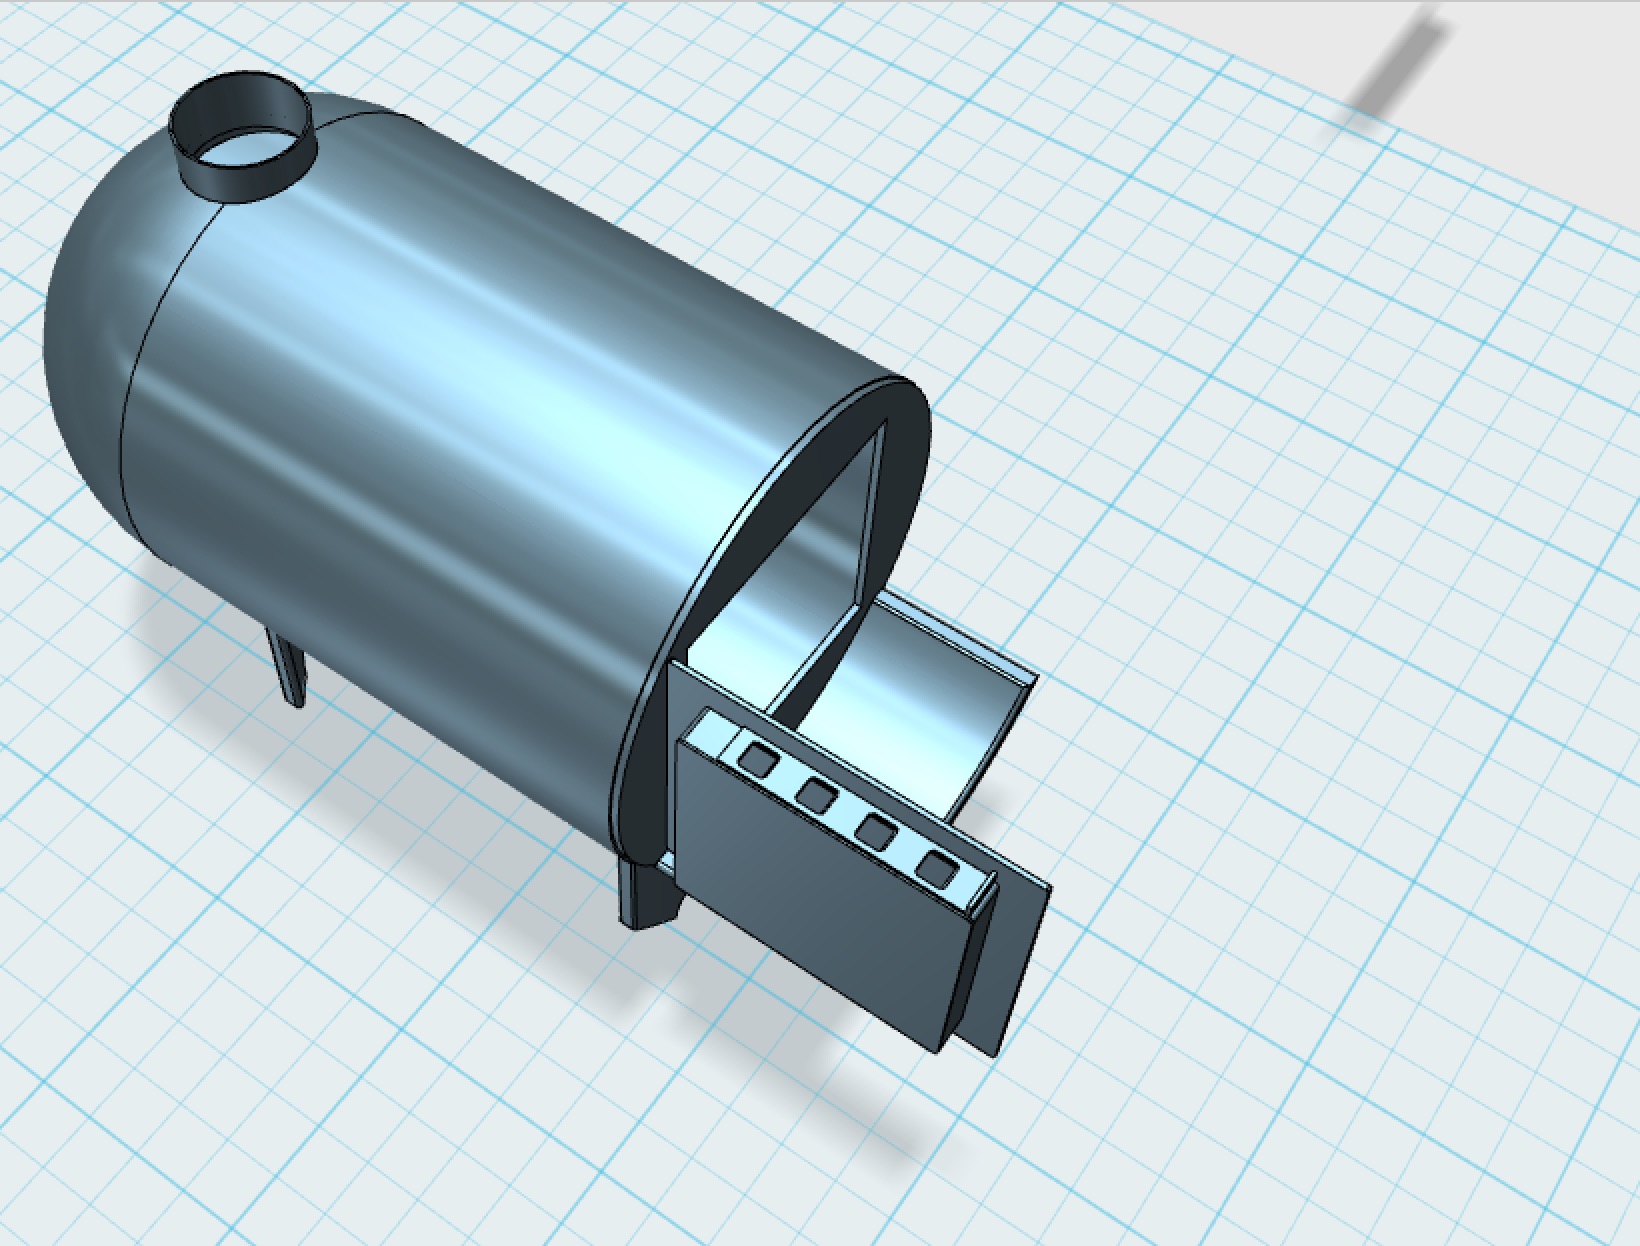
Wood Stove from above w/ damper fully open ~ Original image by @creatr
When the door was open,
I would then proceed to pack the firebox with wood. The way this particular stove was designed, I could pack it almost solid with wood. By design, the wood would burn from the front of the stove to the back, even if there were one solid wood plug filling the firebox. We'll see more of how that worked next time.
I'd put a few pieces of crumpled up newspaper and some wood chips or splinters in front of the wood, light the paper, close the door, and wait a minute or two with the dampers still open until the fire was (literally) roaring.
The sound of the stove was amazing. With the flames going strong, the flames and the air flowing through the stove created a nice, cheerful roaring sound.
But the whole idea of an air tight wood stove is to control the rate of combustion, and to extract as much heat over time as possible from the wood fuel. Besides, going full tilt, that stove got hot enough to drive everyone out of house and home!
And so as soon as I was sure that the wood had solidly caught fire, I would close the damper on top of the door most of the way, leaving only a small area for air to enter. Then I would adjust the flue damper slightly closed to help keep more of the heat in the stove, less going up the chimney. But never close a flue damper too far, as some amount of draft is needed to keep the fire going and to prevent toxic gases from leaking into the house.
Properly adjusted,
my stove would keep the entire house at a very comfortable winter temperature (between 70 and 80 degrees Fahrenheit) on even the coldest New Hampshire winter days. One load of wood is all that was needed for 24 hours of heat.
Getting the wood was another story.
The plastics factory where I worked used Kraton thermoplastic rubber pellets to injection mold shoe soles. The pellets were delivered in large heavy duty cardboard cartons that were mounted on wooden pallets.
After receiving and using a box full of pellets, the cardboard containers and the wooden pallets were simply discarded as trash at the back of the plant. It turned out to be very convenient for me to salvage these pallets—which were made of oak—for firewood.
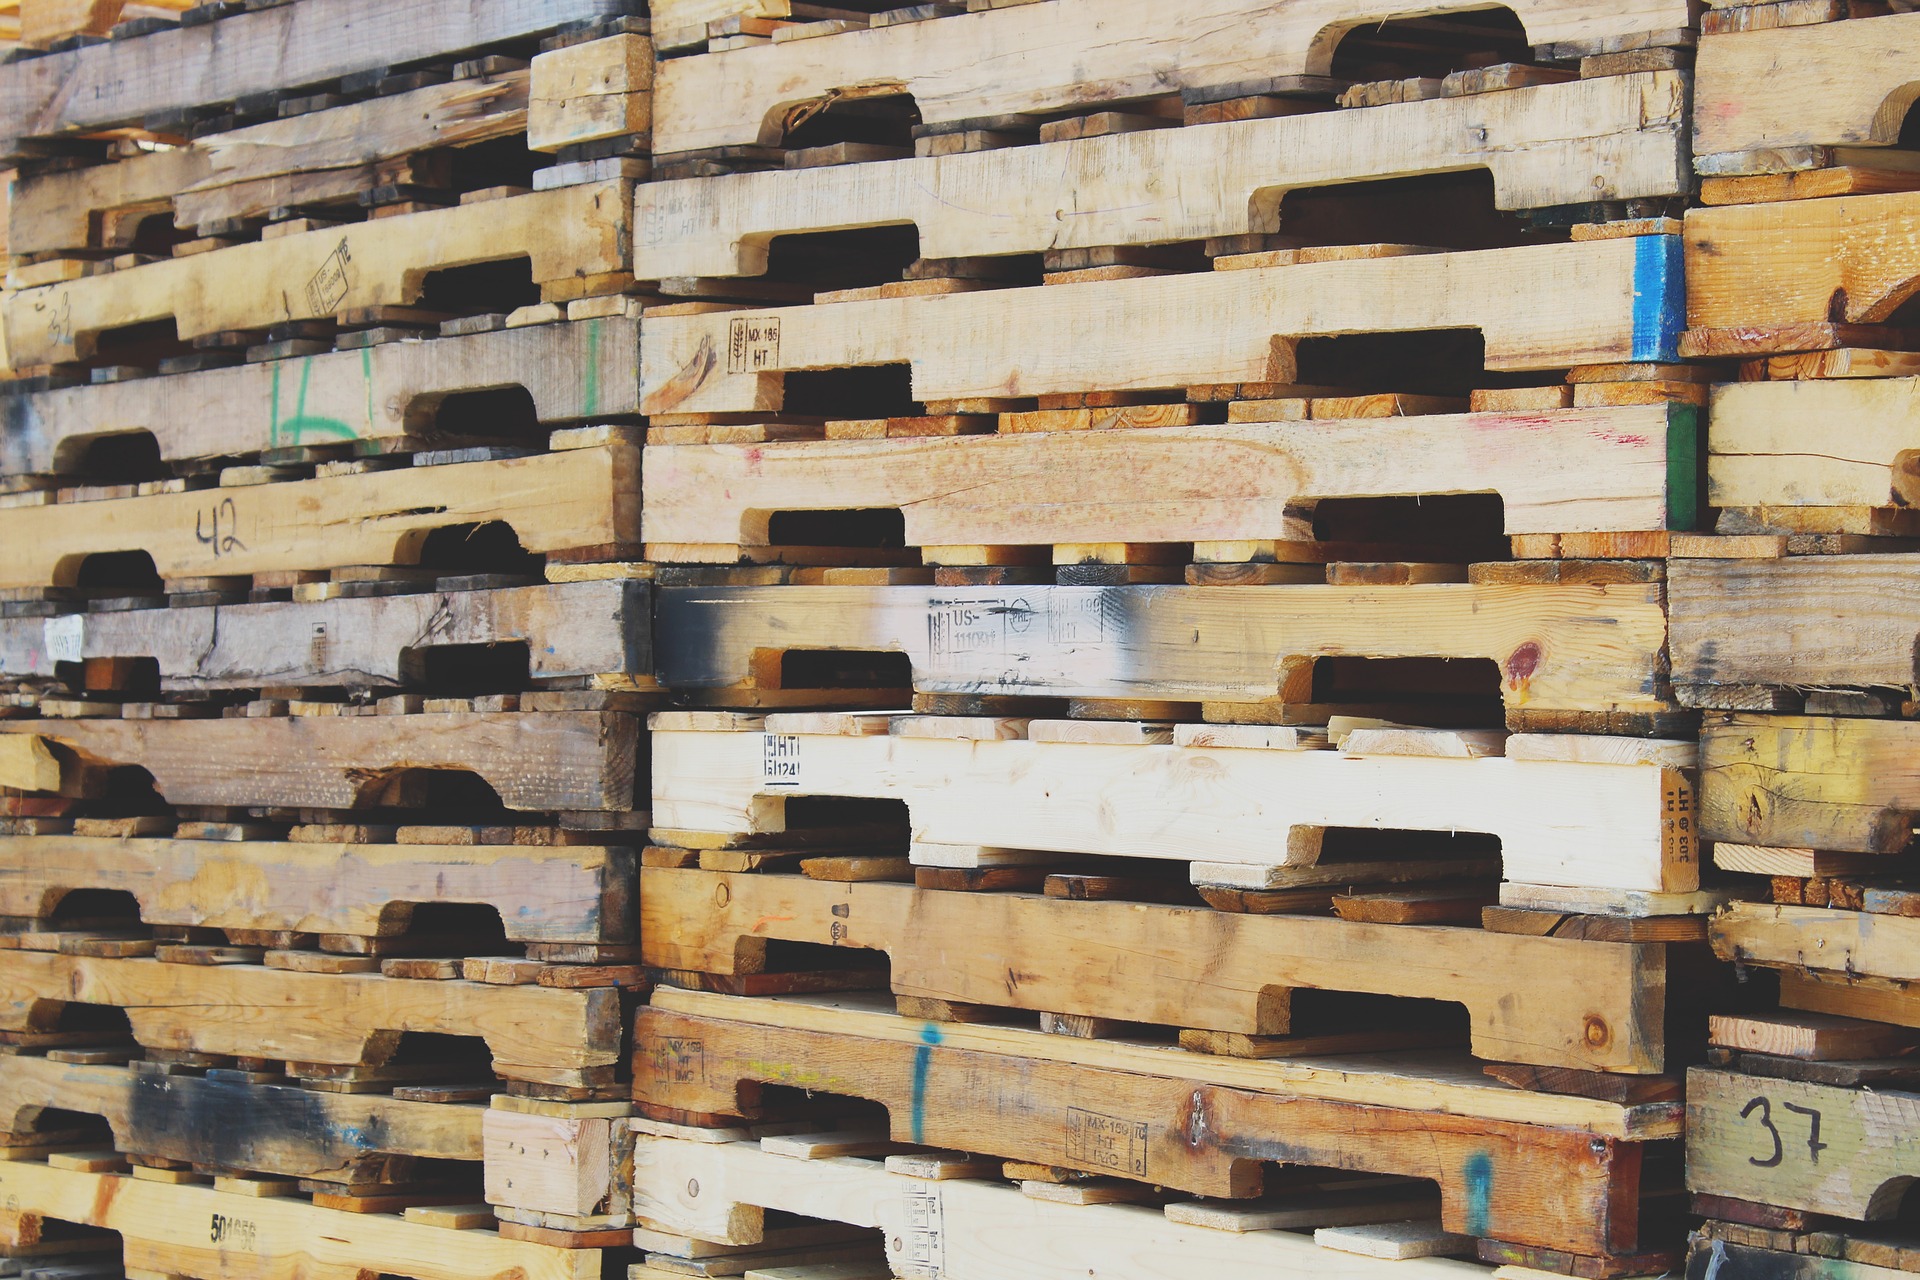
Wooden Pallets ~ Image courtesy of Fox Moody
The pallets were nailed together,
or in some cases, assembled with staples. It was fairly easy to break them apart with a hammer and to pack the back of our Vega station wagon with a goodly supply of high quality firewood.
I would take the wood home, carry it into the house and down into the crawl space under the house which served as a dry space for storage.
The floor below the crawl space was sand, but it was relatively clean and dry. I set up some sawhorses down there and I would cut the pallet would sections in half, which left them at three feet in length or less. I used a bow saw for that task, which also was good arm exercise.
Free oak firewood!
You can't beat that. Oak is hard and dense, and it burns very hot and considerably cleaner than pine. It leaves somewhat less creosote residue than softer woods as well.
Because the wood was pre-cut in slats, I was able to pack the firebox pretty densely, more so than if I had been burning logs. This helped keep the stove burning longer.
I also would occasionally set aside some of the better pieces of oak and use them to make other things. Such a deal!
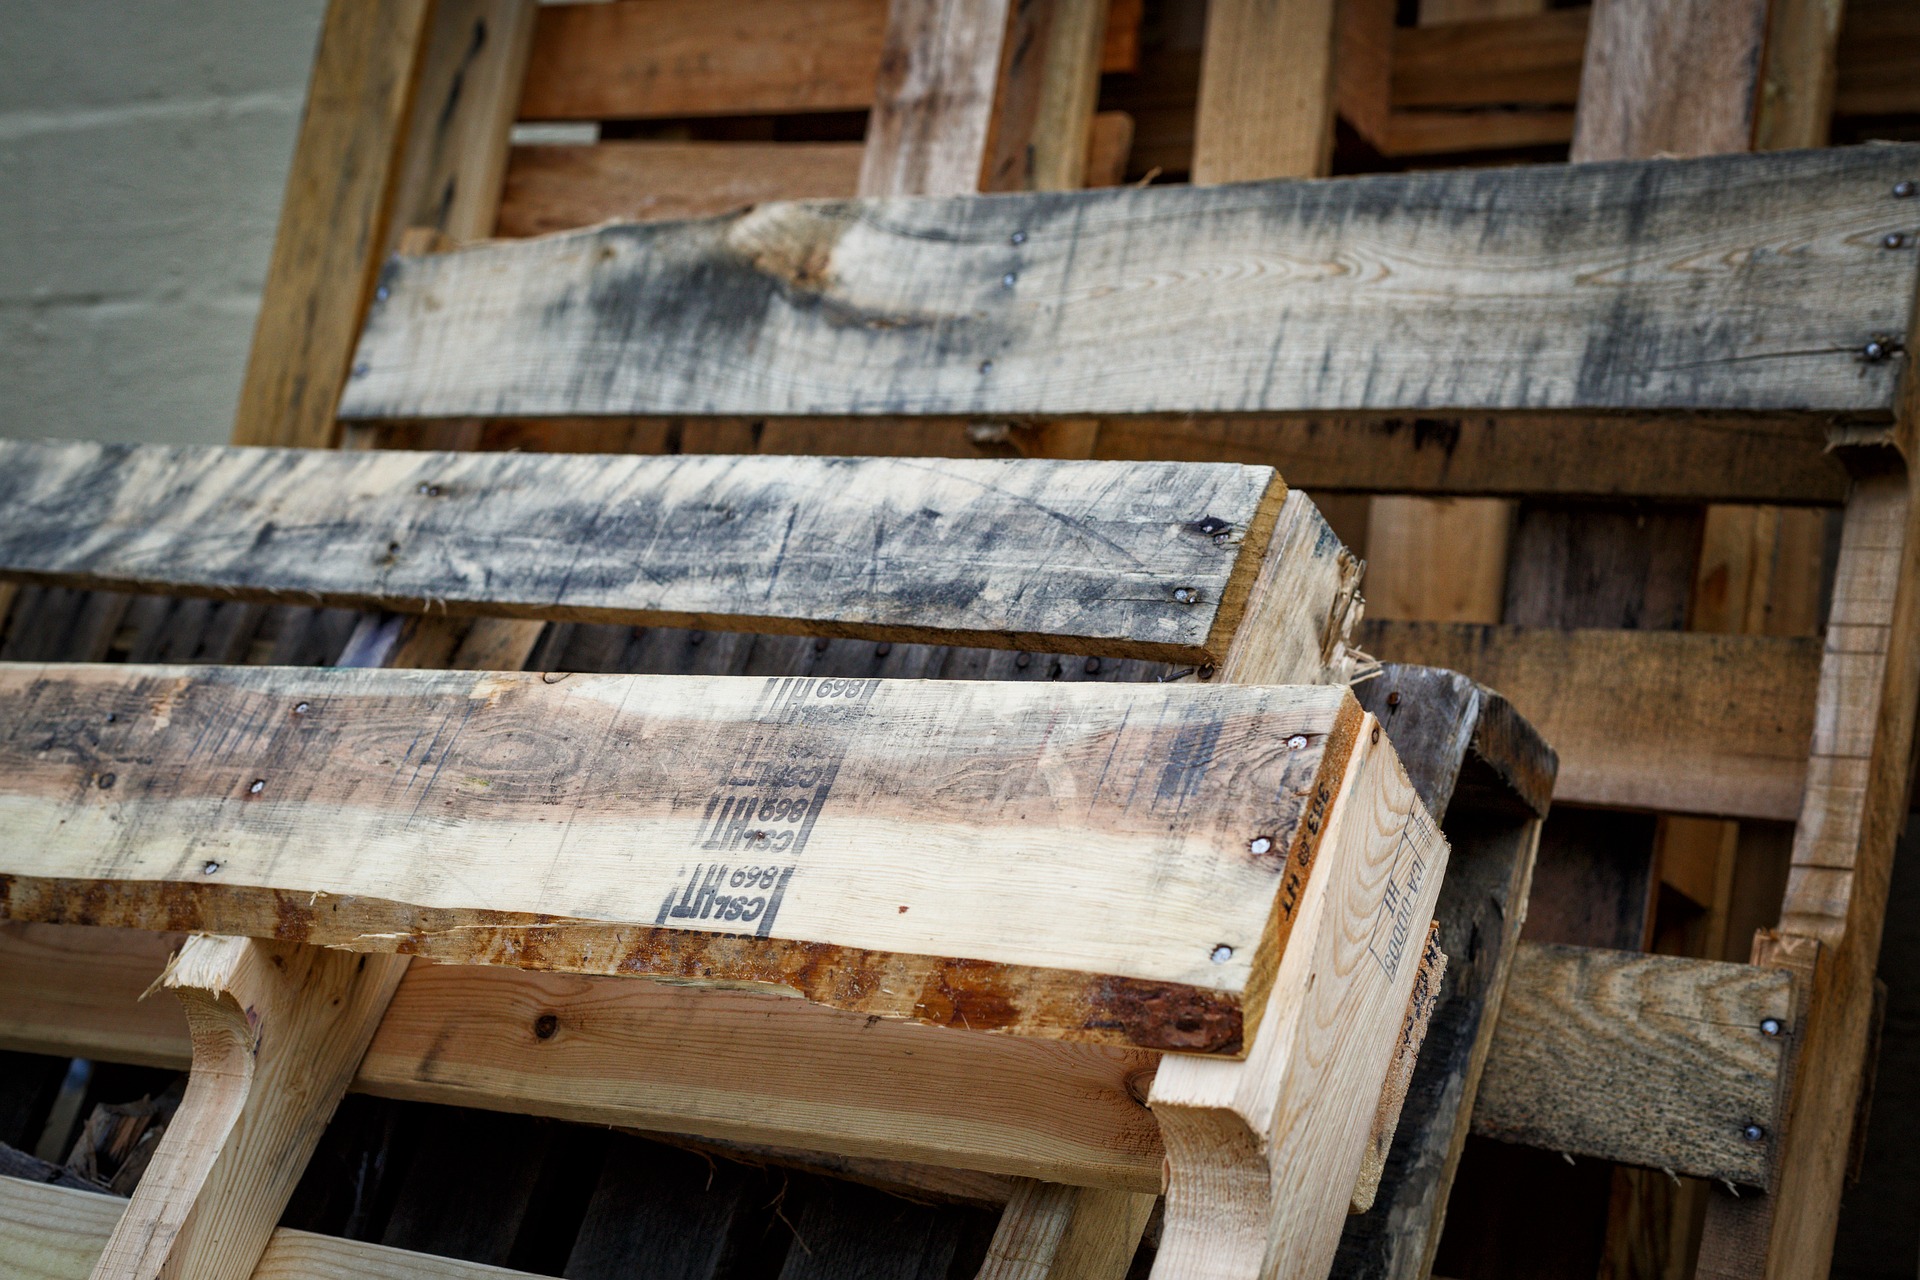
Wooden Pallets ~ Image courtesy of Karol Olson
Operationally speaking,
the bottom line is that our first wood fired winter in New Hampshire was a great success, despite extreme cold temperatures.
We were even able to go away once in a while on trips lasting as long as two days without worrying. I'd stuff the stove and stoke it up to get it going, but then bank down the draft tighter than usual. The stove would burn for two full days at a lower output, but when we got home two days later, the inside of our home was still well above freezing. Reloading the stove would bring it back up to room temperature quickly.
I'm glad you're with me for this adventure.
I'm enjoying recalling one of my best experiences as a maker. I hope you're also enjoying the story of my wood stove.
In the next chapter, I plan to share some of the internal design details with you, just in case my story may have persuaded you to try your own hand at building a wood stove. For a "warm up," think about the holes in the door (see below).
~FIN~
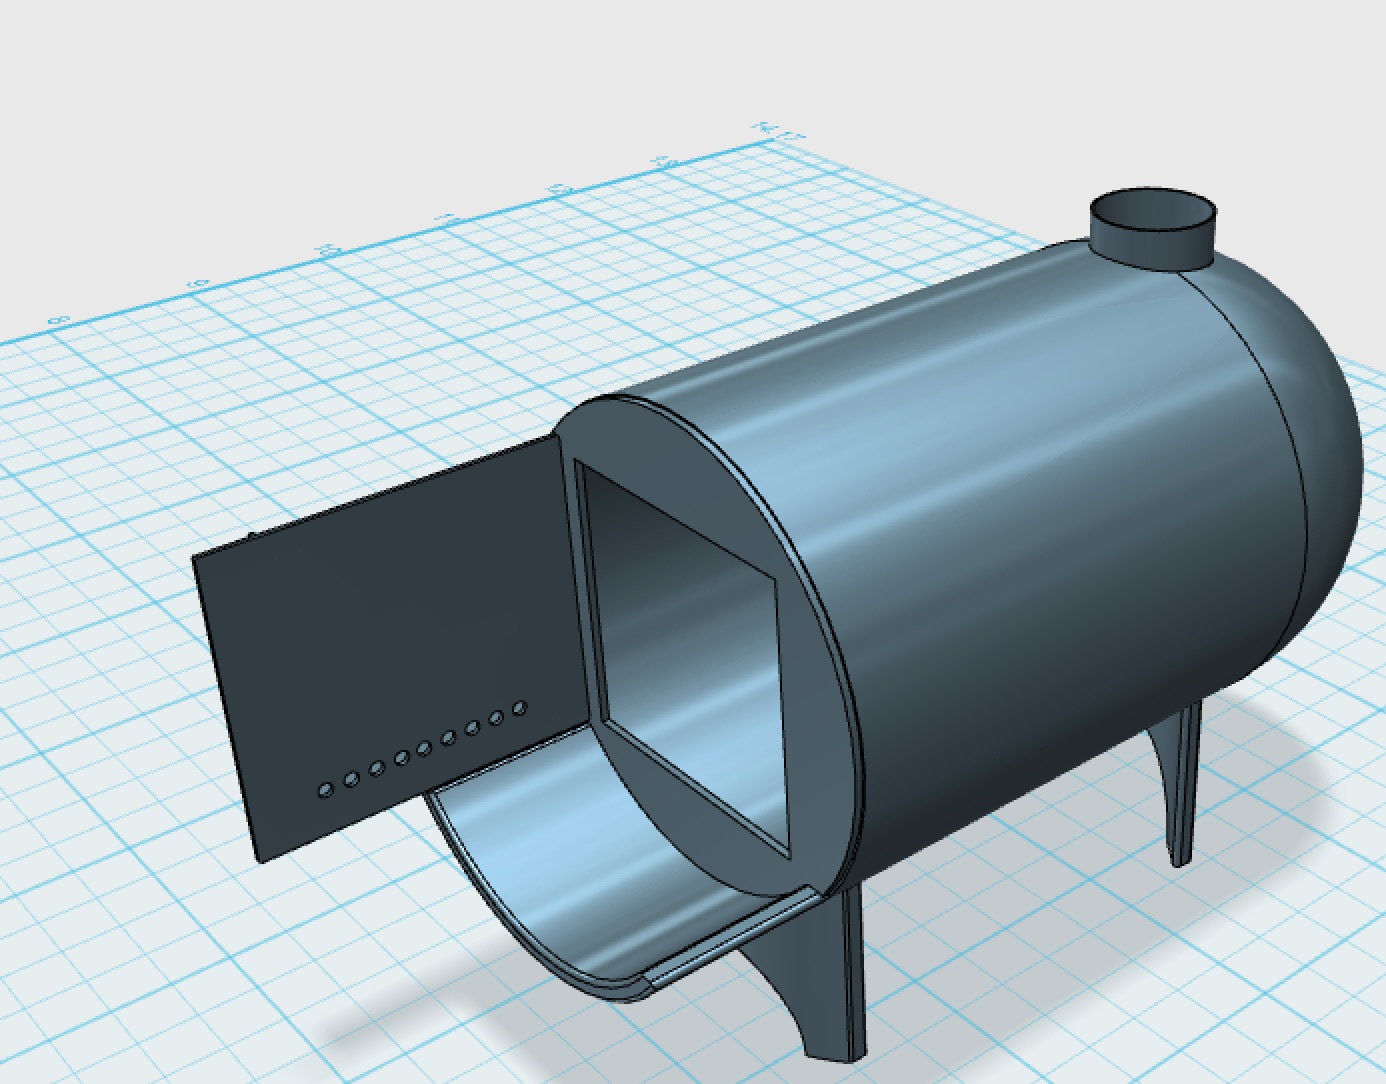
Notice the holes in the door ~ Original image by @creatr
Hey! I'm new here! Please be patient as I learn the ropes. :grinning:
I want to be a good member of this community, and so I promise to take your comments, both positive and corrective, very seriously.
I'm especially interesting in meeting makers. If you make stuff, I would love to read about it and encourage you in any way that I can... Just say "Hi" in a comment, and show me what you're working on; I welcome your links!
Your opinion is celebrated and welcomed, not banned or censored!