
Adobe Illustrator Practice - Making A Beautiful Flower
At first I never really thought that this simple lines would result to a beautiful flower like this, so now I will share to everyone the process on how to come up with this.
Design Process
- First, I made a 500 x 500 pixel artboard at 300 ppi.
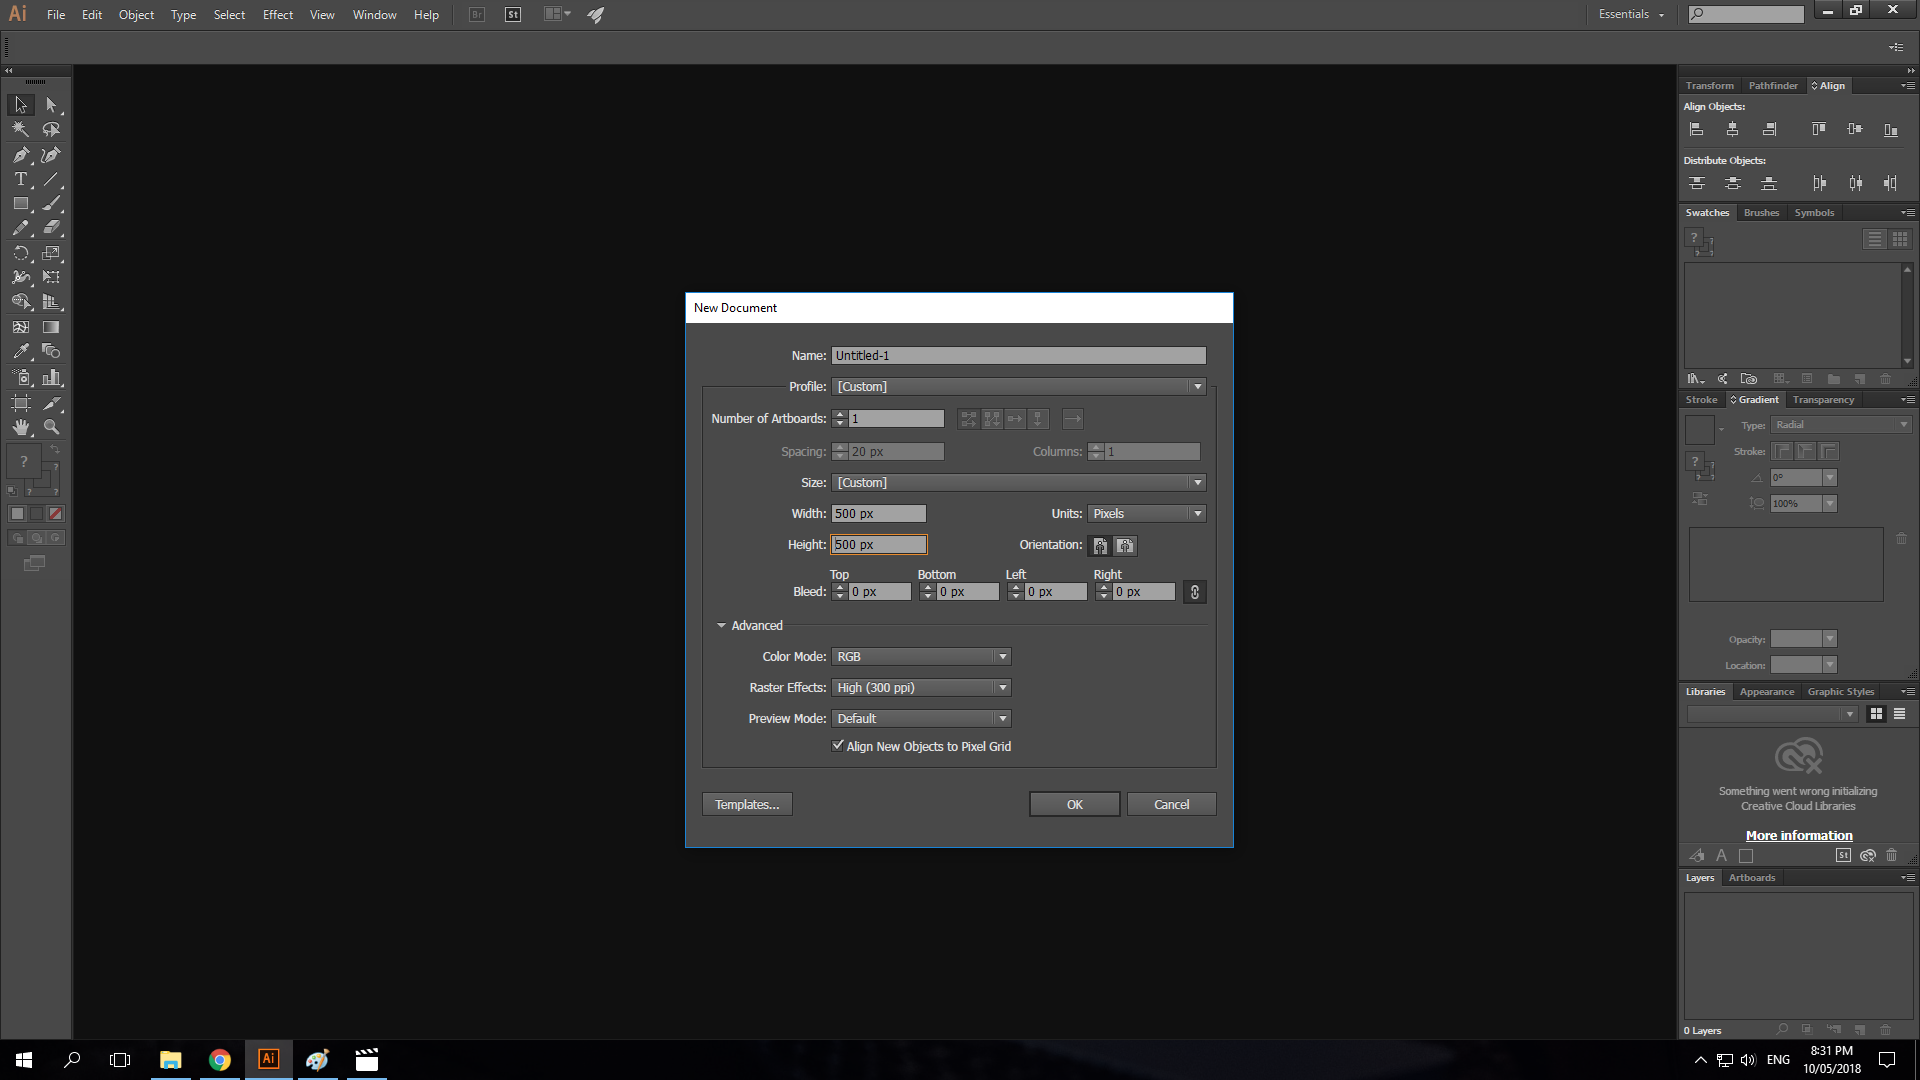
- It would look something like this.
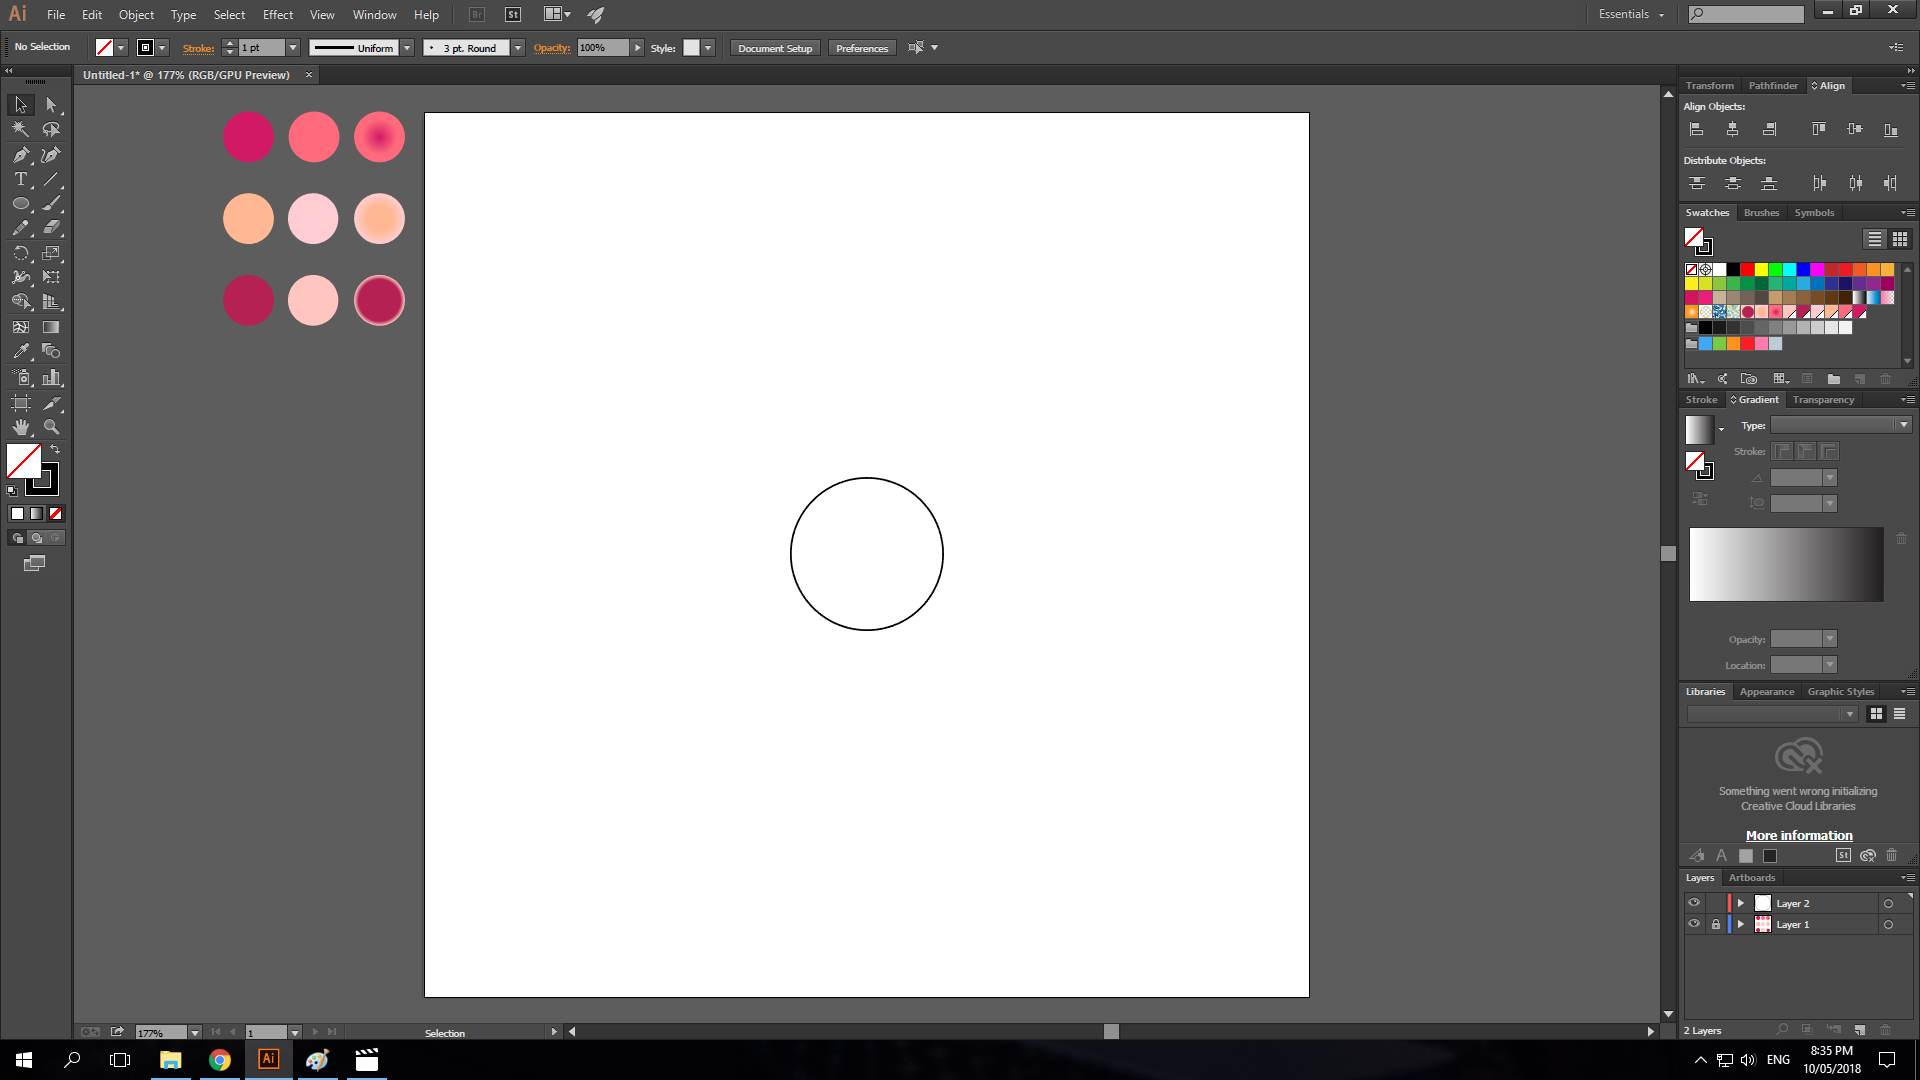
- Then, I made a circle in the center of the artboard with the dimensions: 86 x 86 pixels.
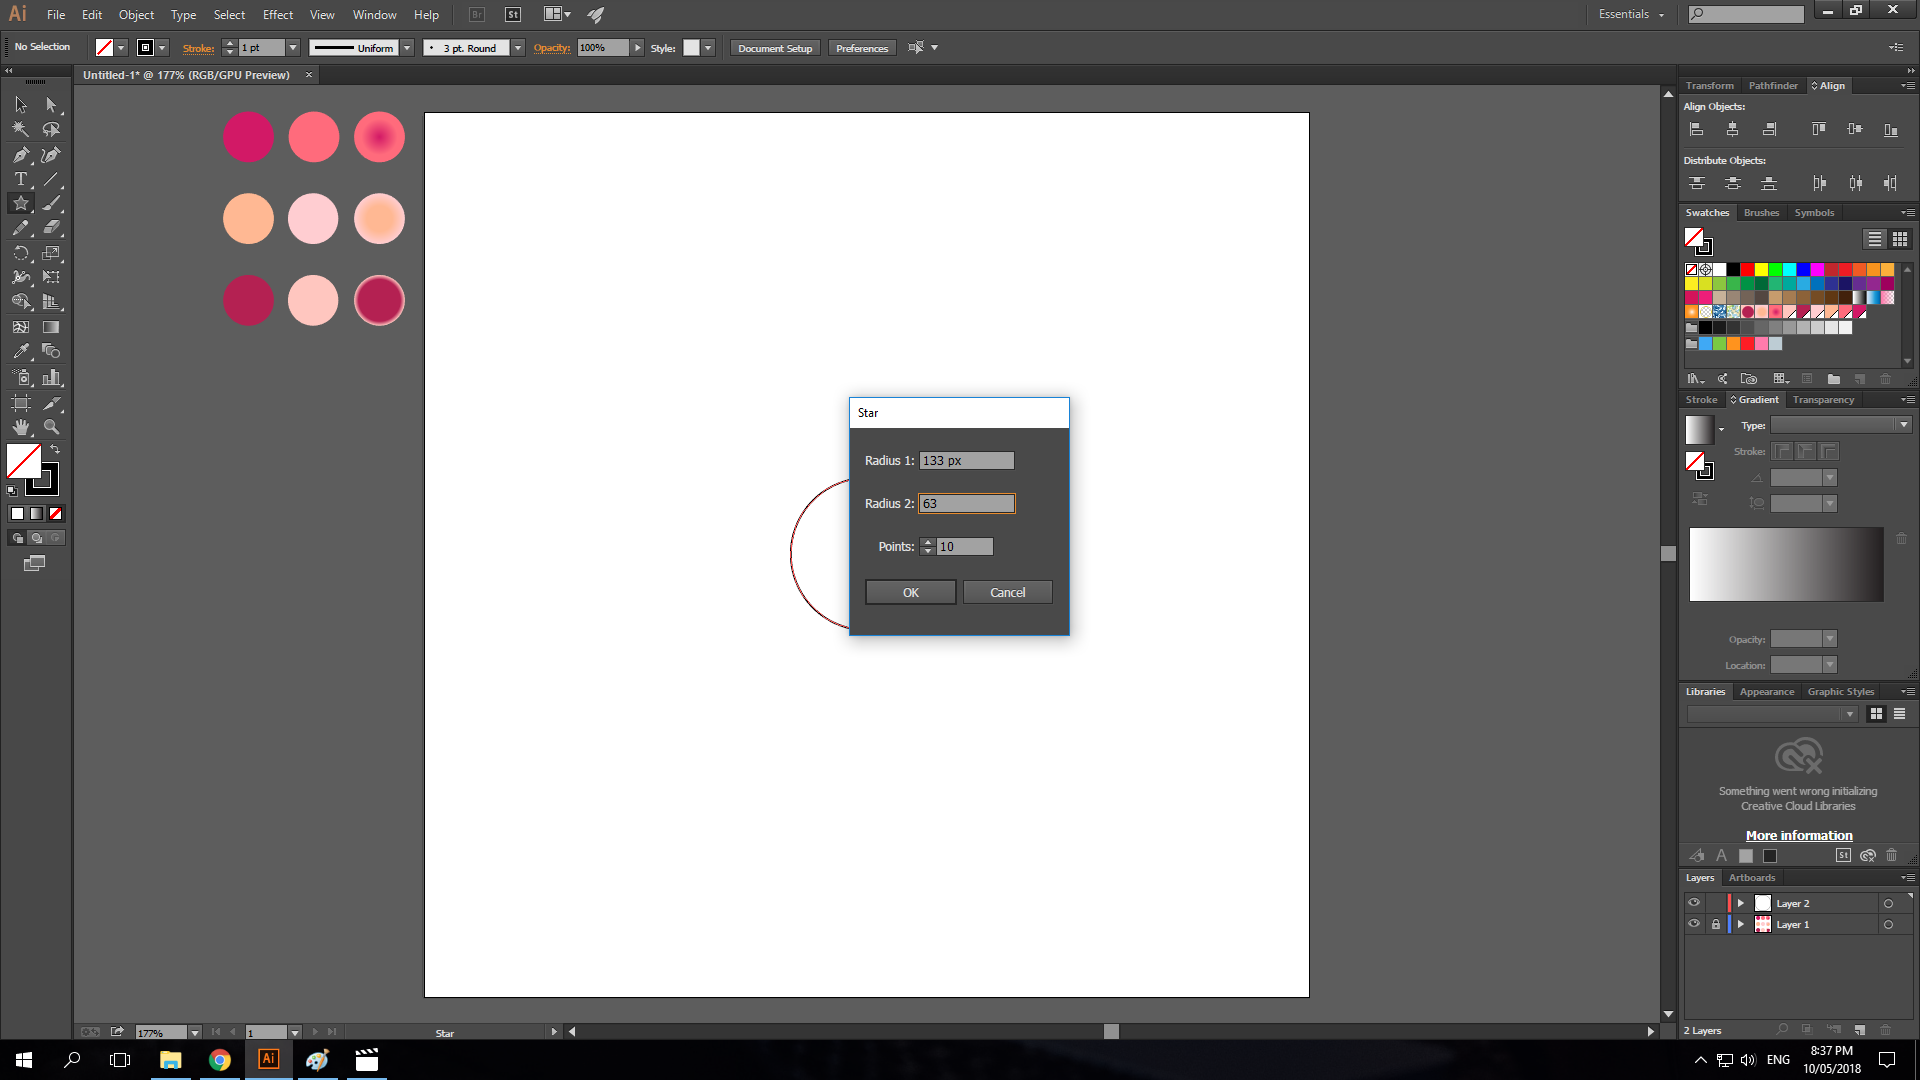
- Then using the star tool, I made one at the center of the circle with the dimensions: 133 x 63 pixels with 10 points.
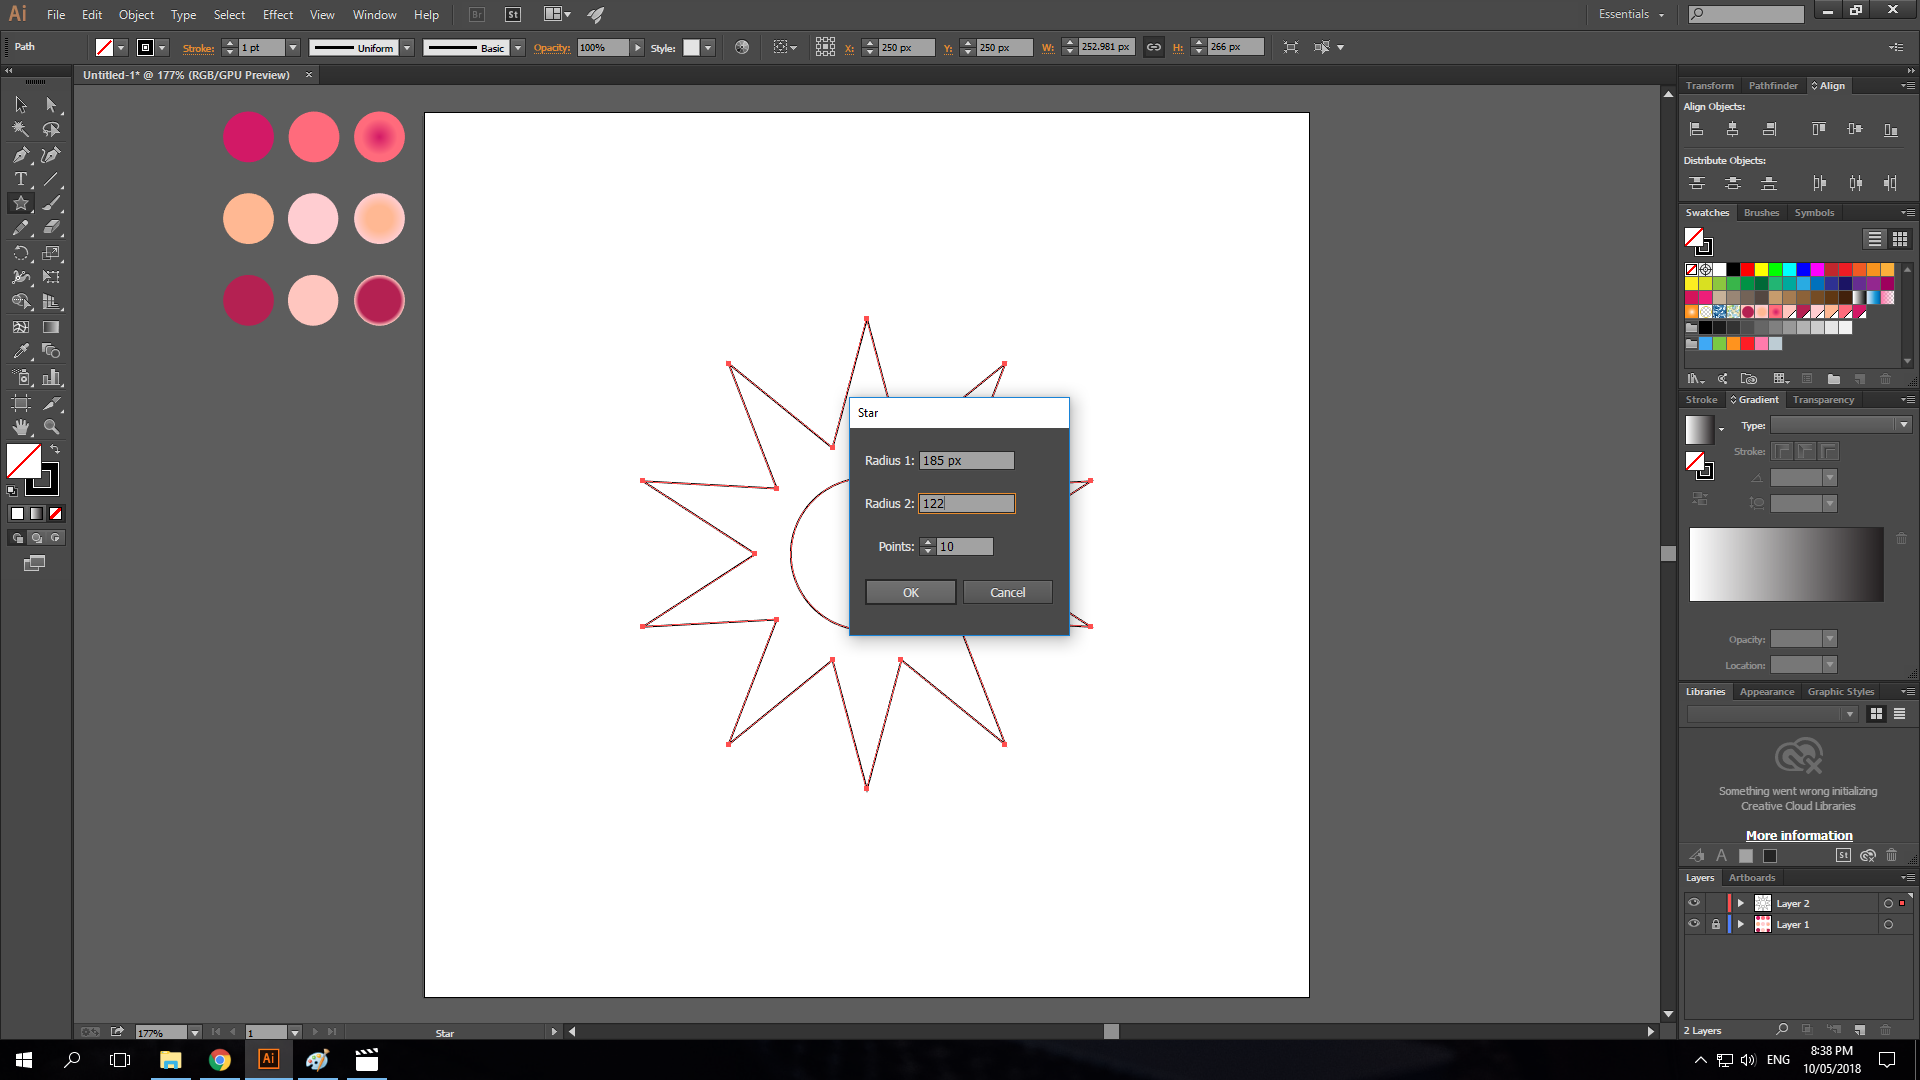
- Then I created a bigger star still at the center of the circle with the dimensions: 185 x 122 pixels with 10 points.
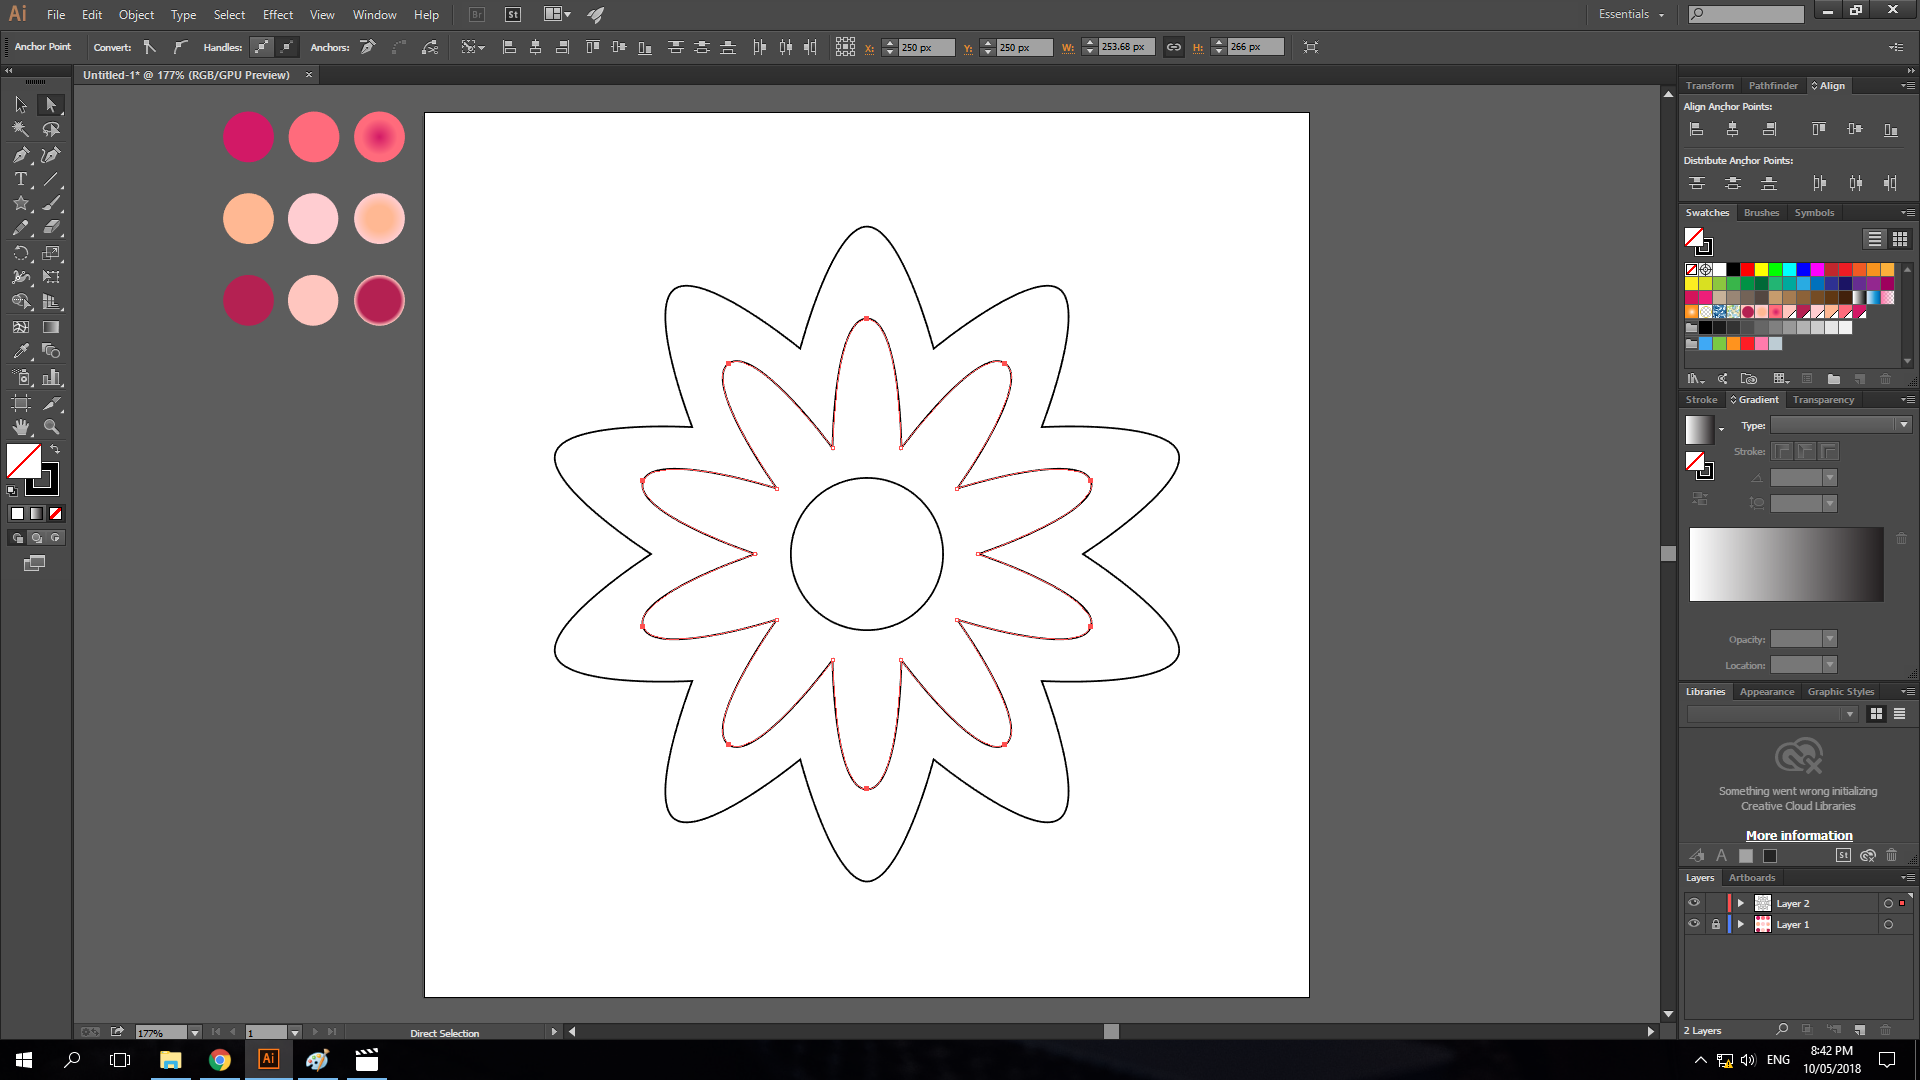
- I selected all the end points of the outer star.

- Then with the points selected, I converted the anchor points to smooth curves.

- After that I applied the same process to the inner star.
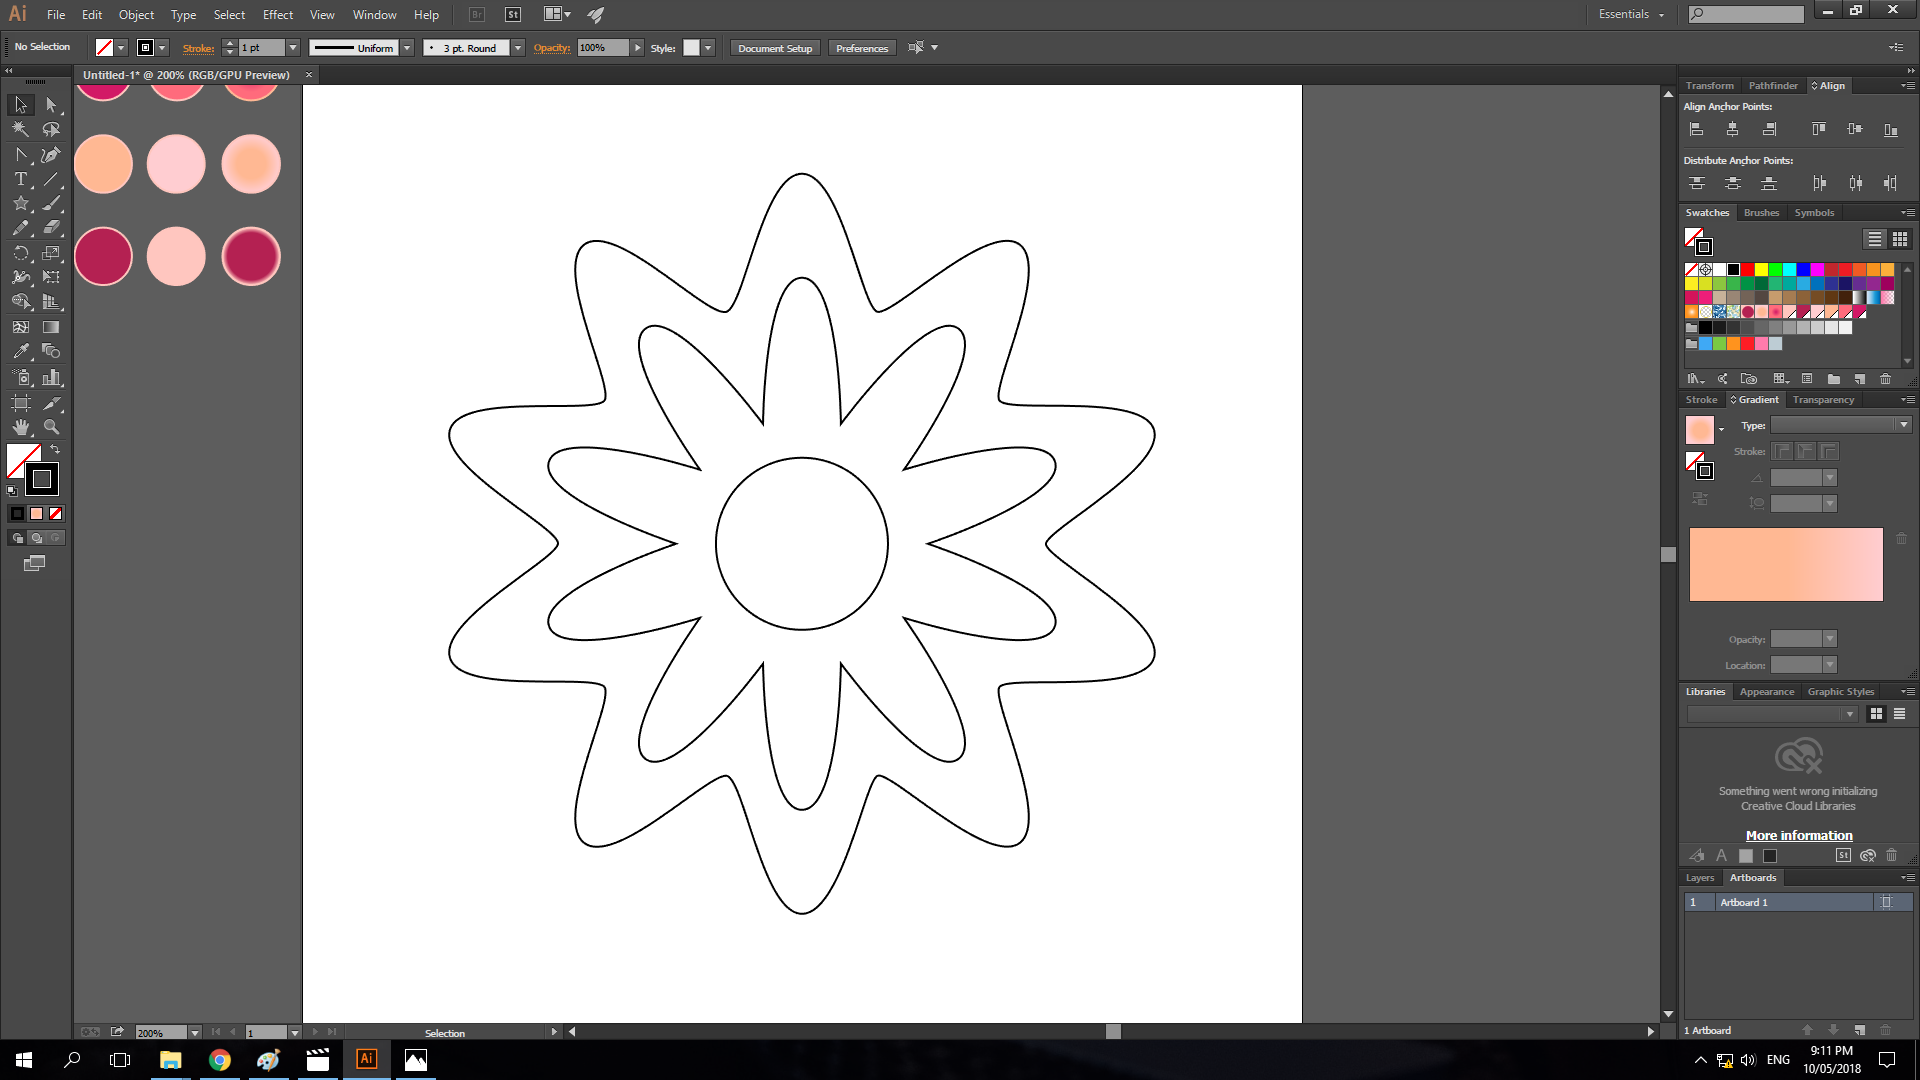
- Then I manually adjusted the handles to obtain curves on the inner part of the outer star.
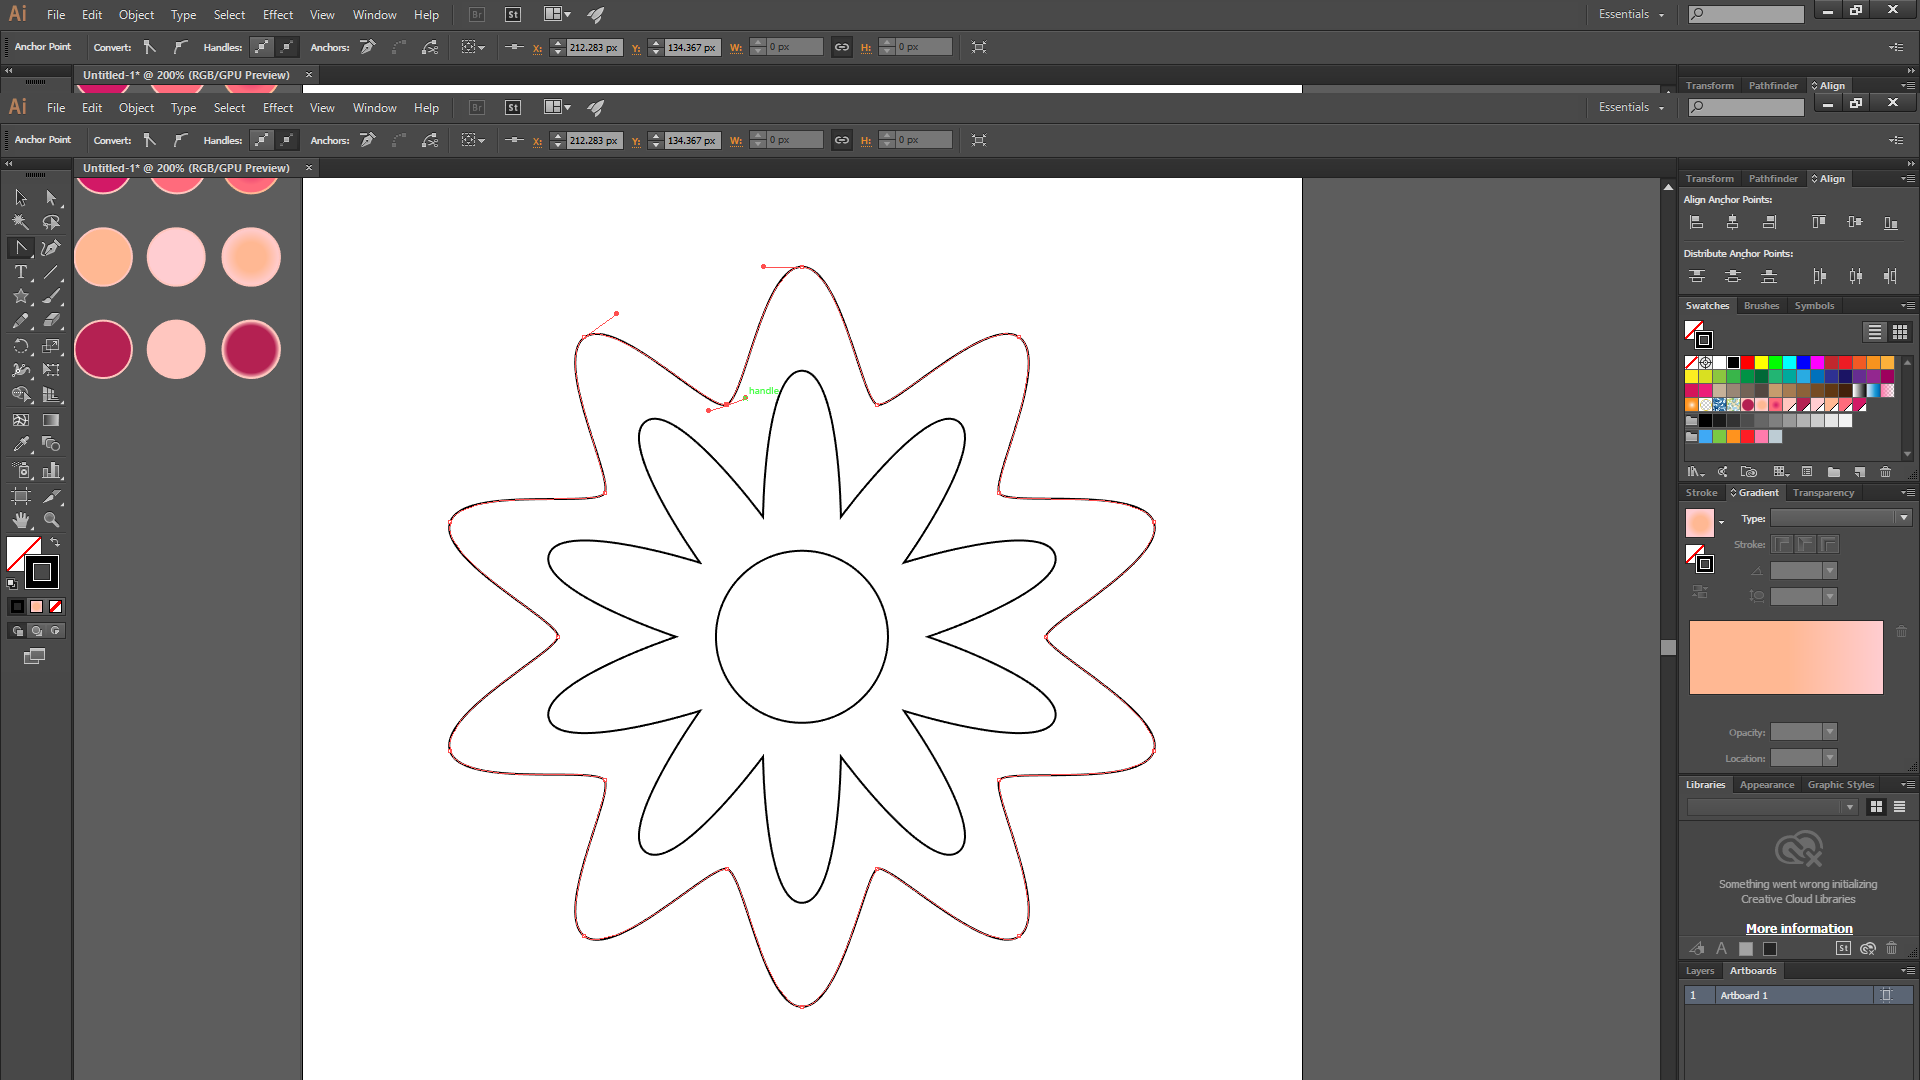
- After manually adjusting it all, this is how it will look like.
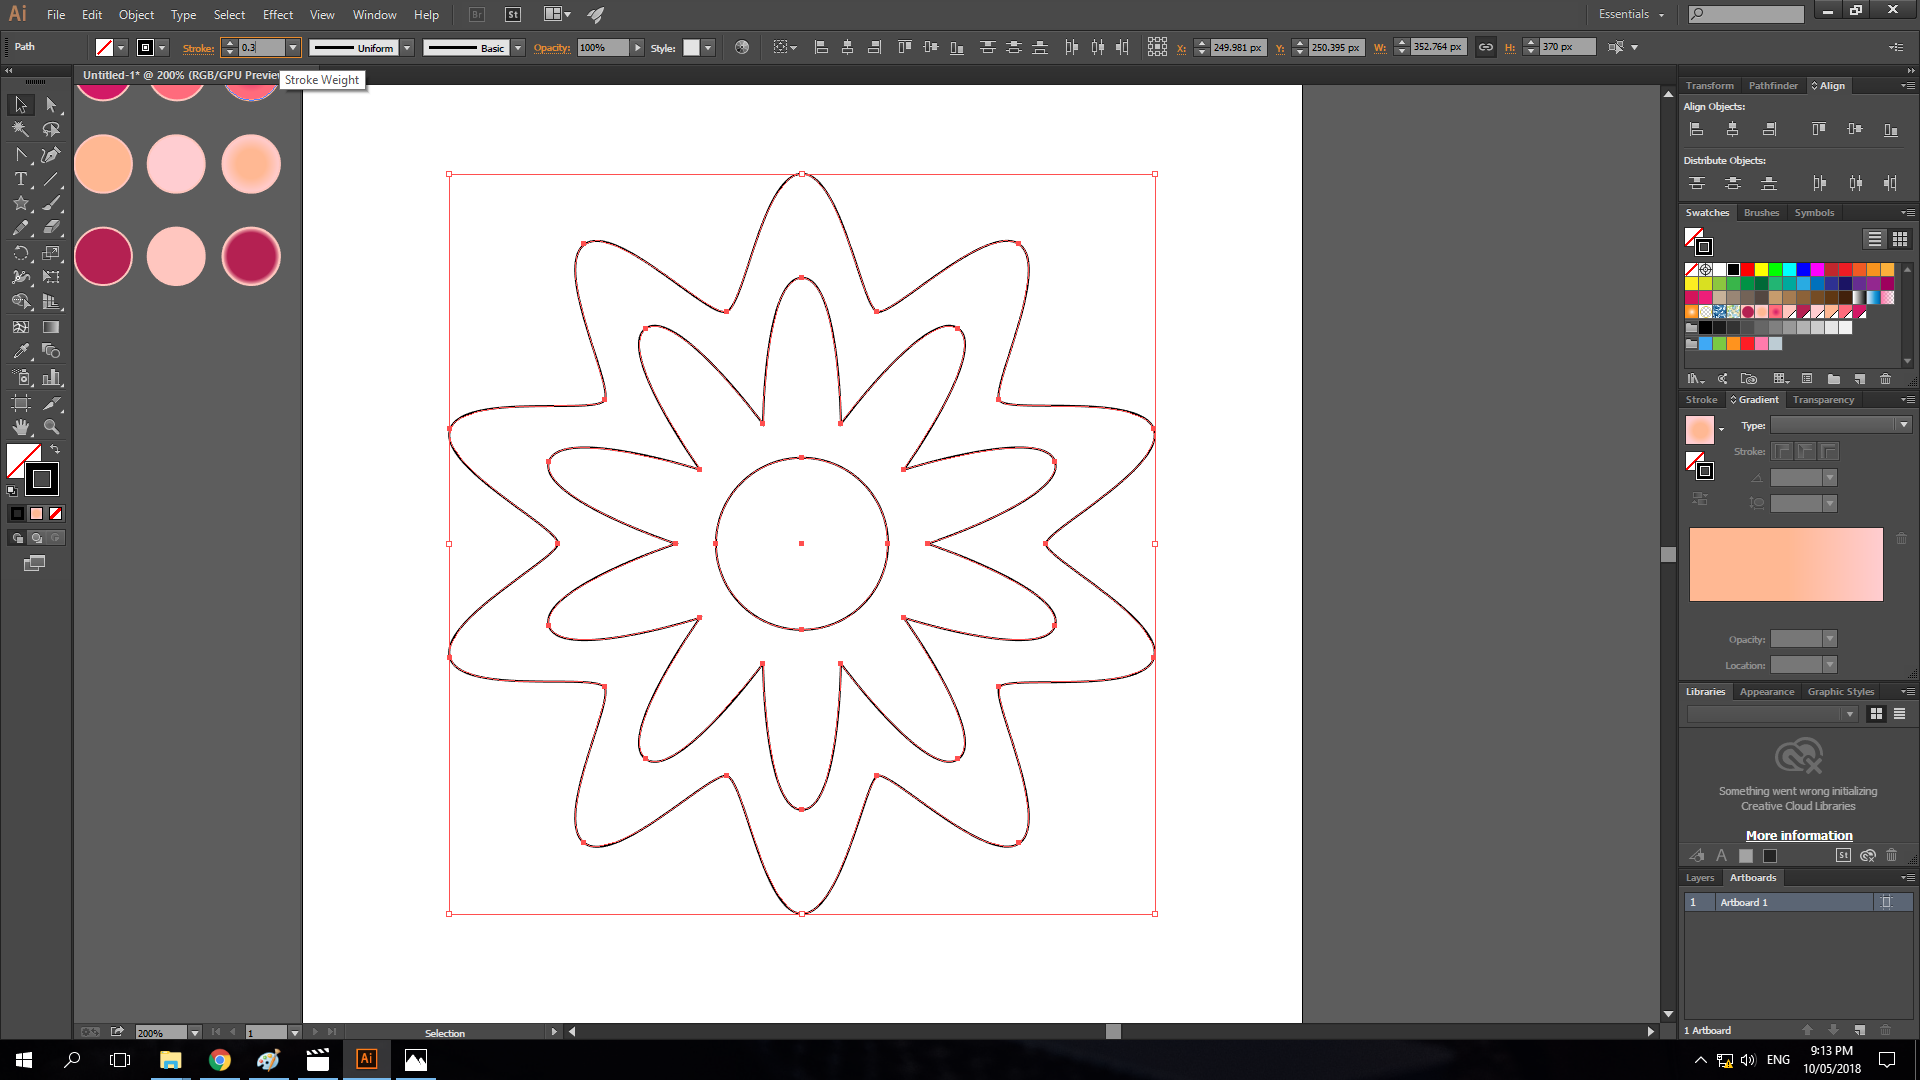
- After that, I selected all the objects then changed its stroke weight to 0.3 pt.
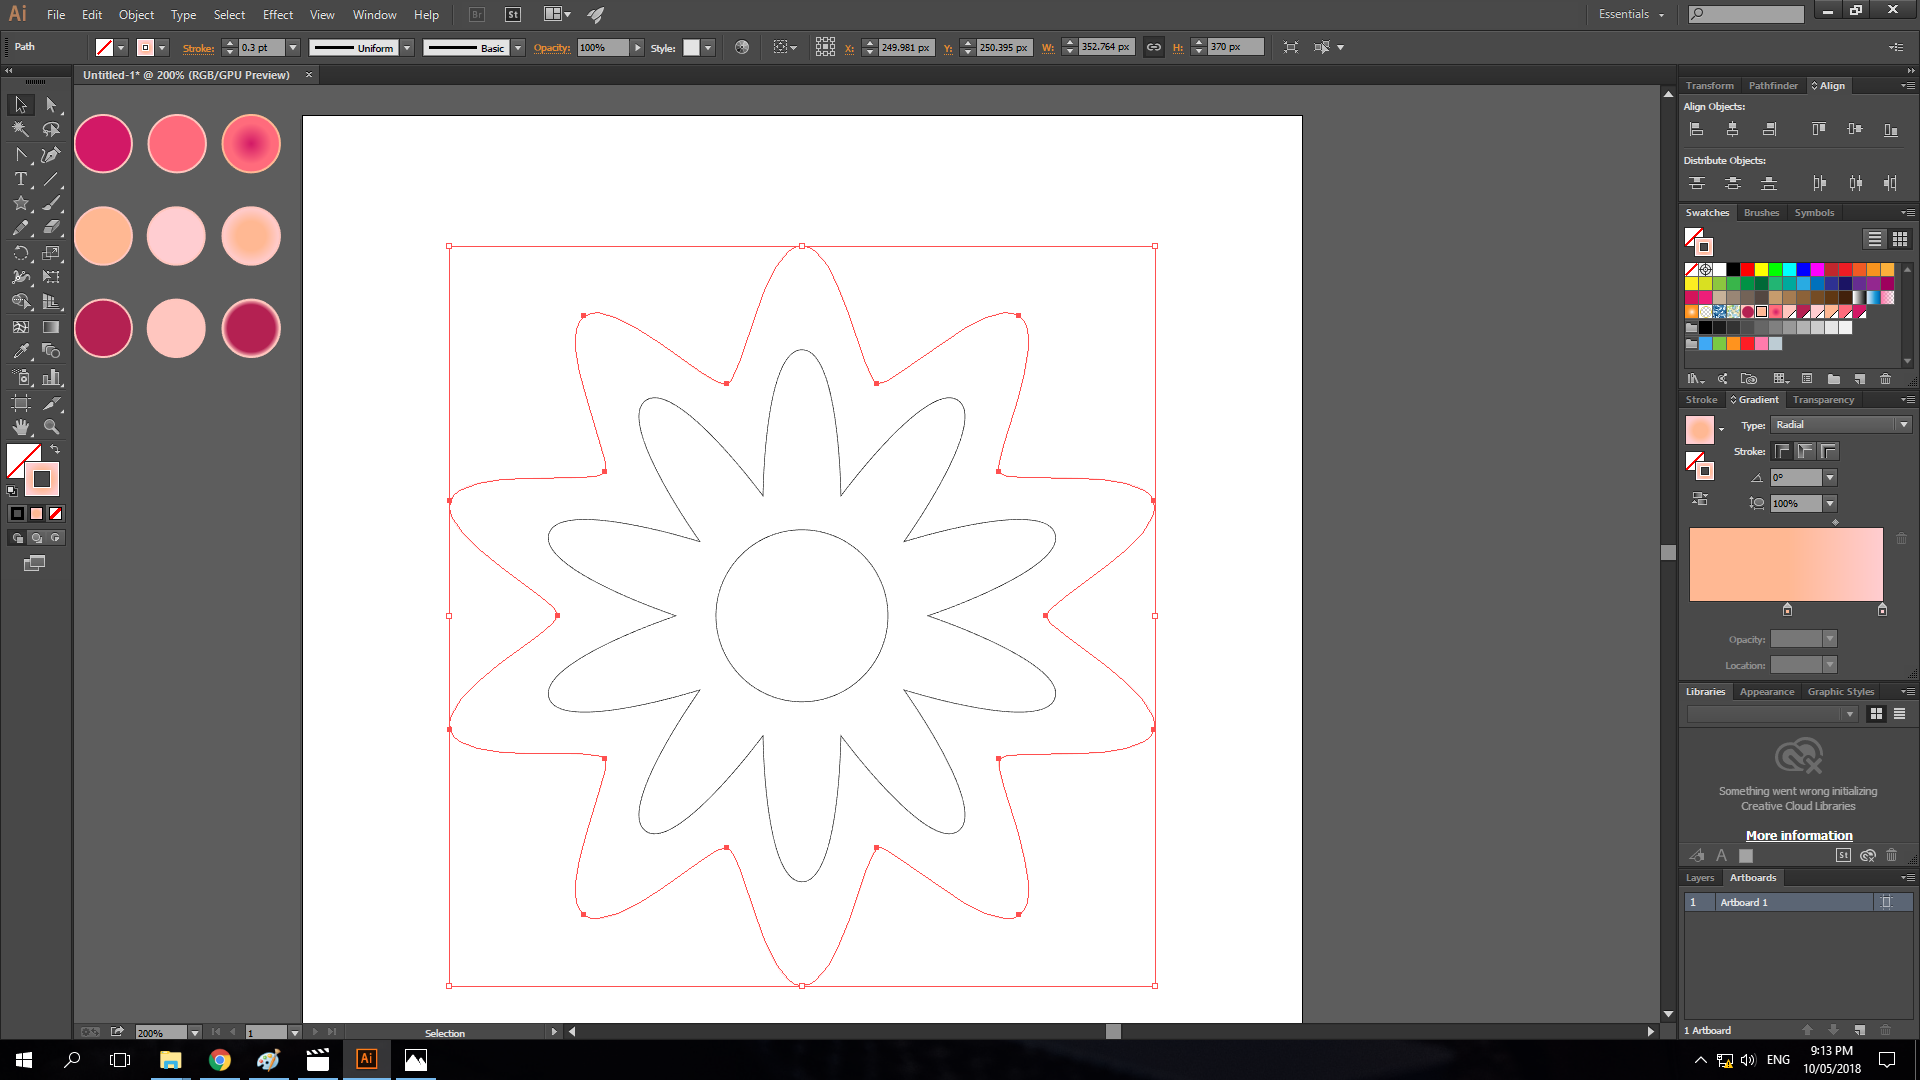
- Then I added a radial gradient to the stroke of the outer star.
- After that, I added a radial gradient to the stroke of the inner star.

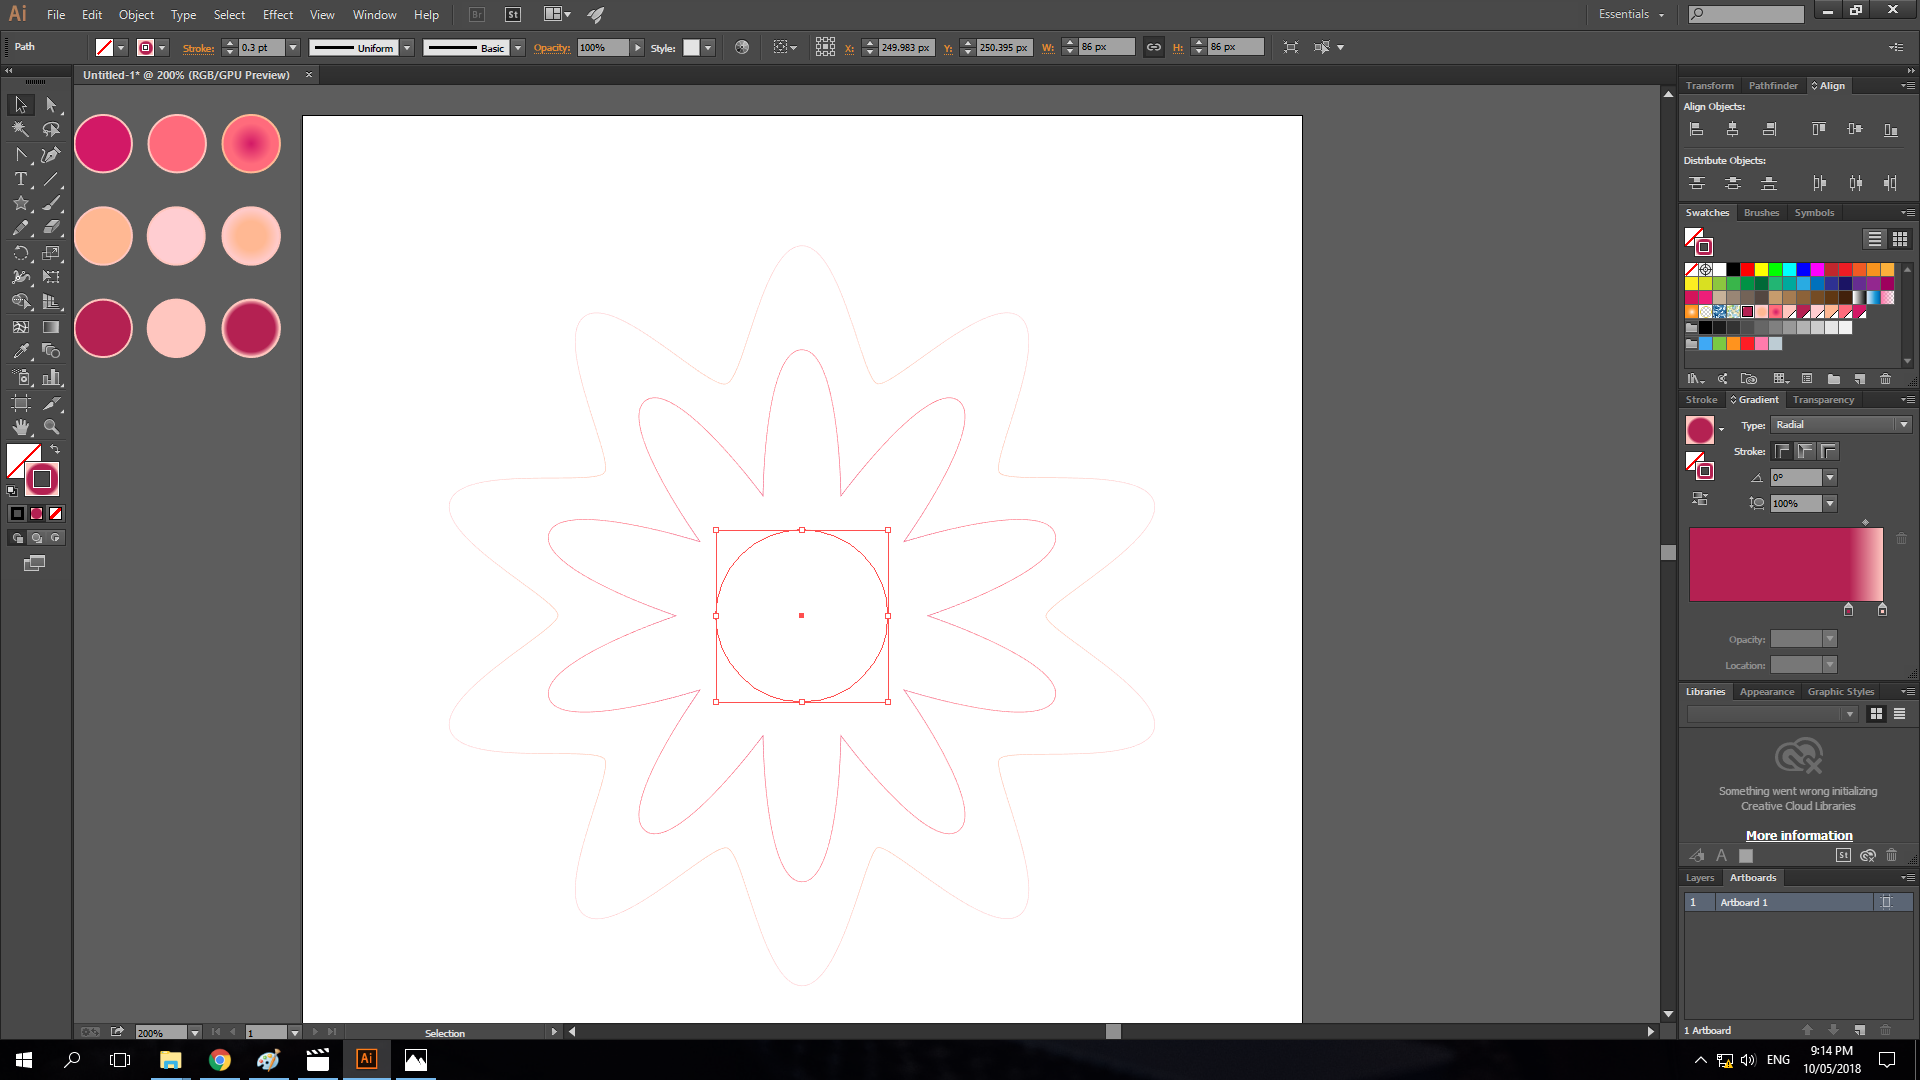
- Then I added a radial gradient to the stroke of the circle in the middle.
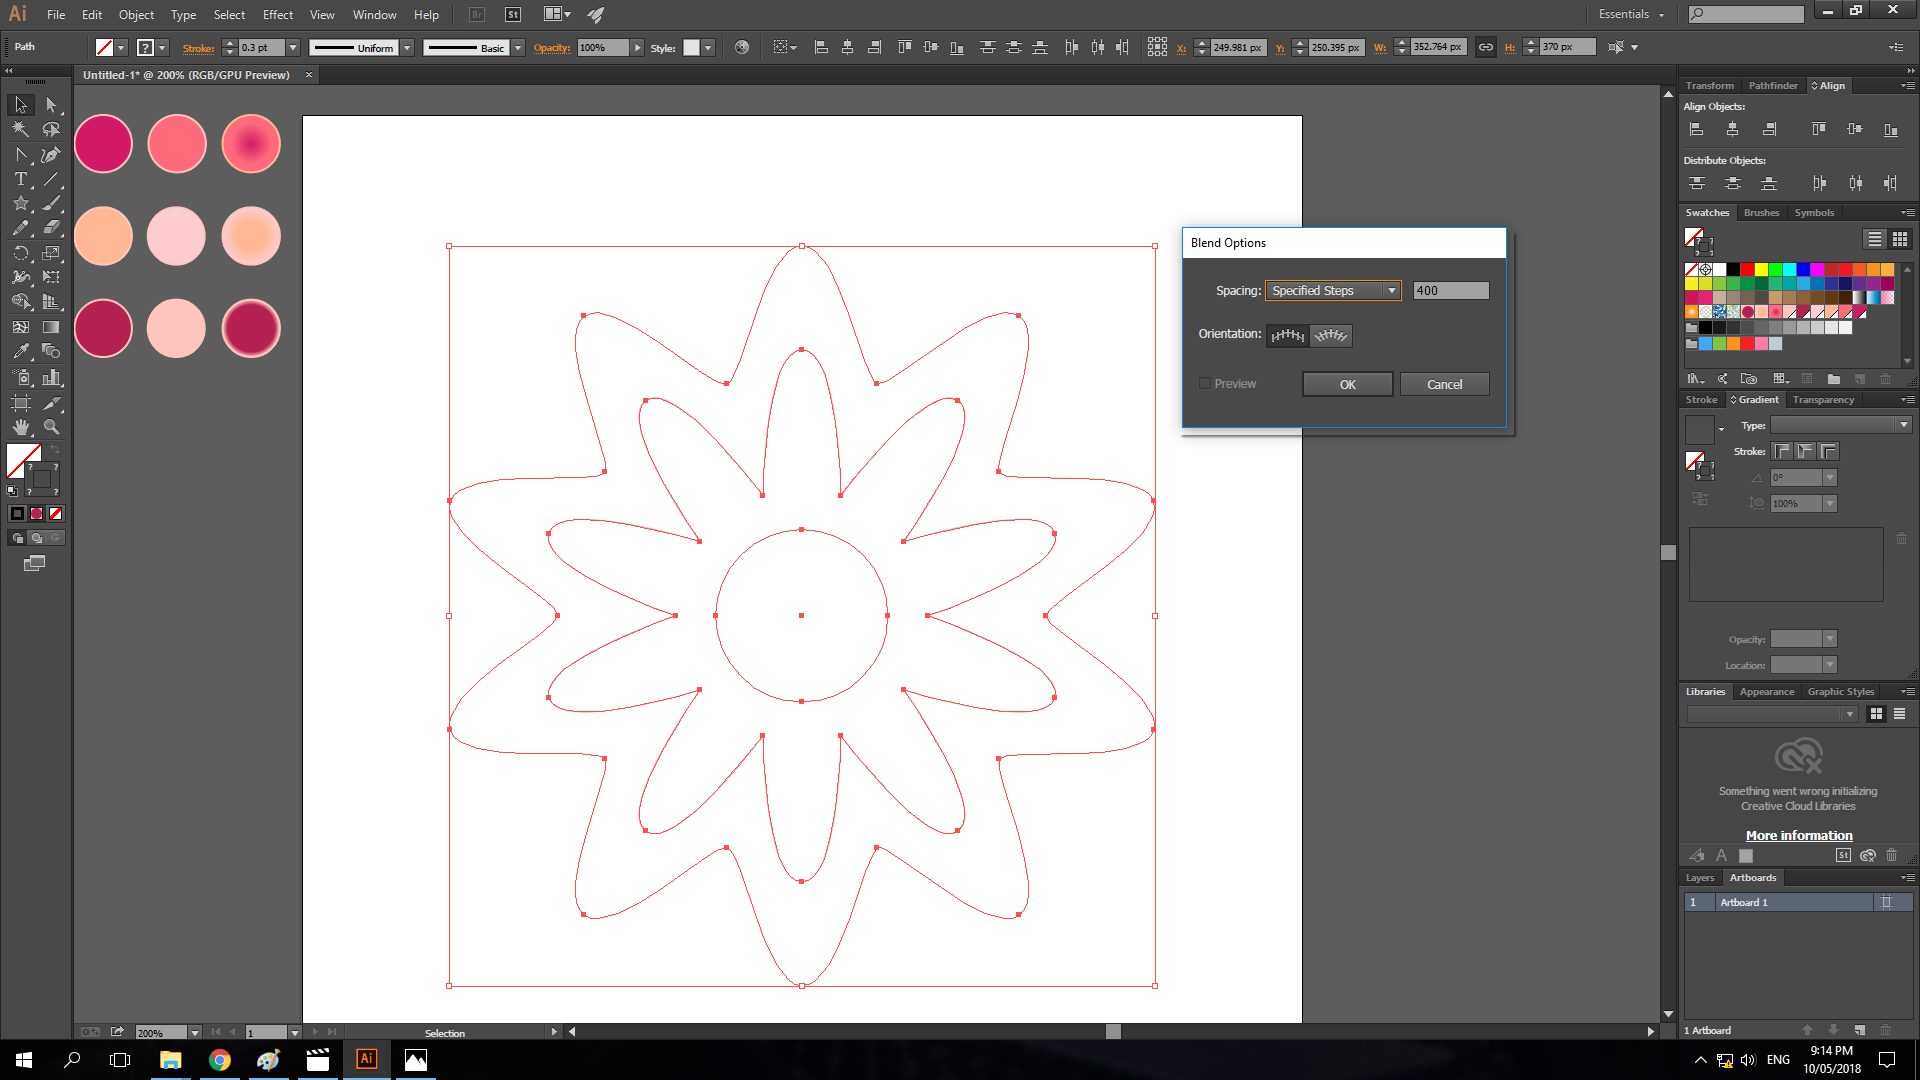
- I then edited the values of the blend. I selected first all the objects, then I went to Object > Blend > Blend Options. For the spacing I choose, Specified Steps: 400.
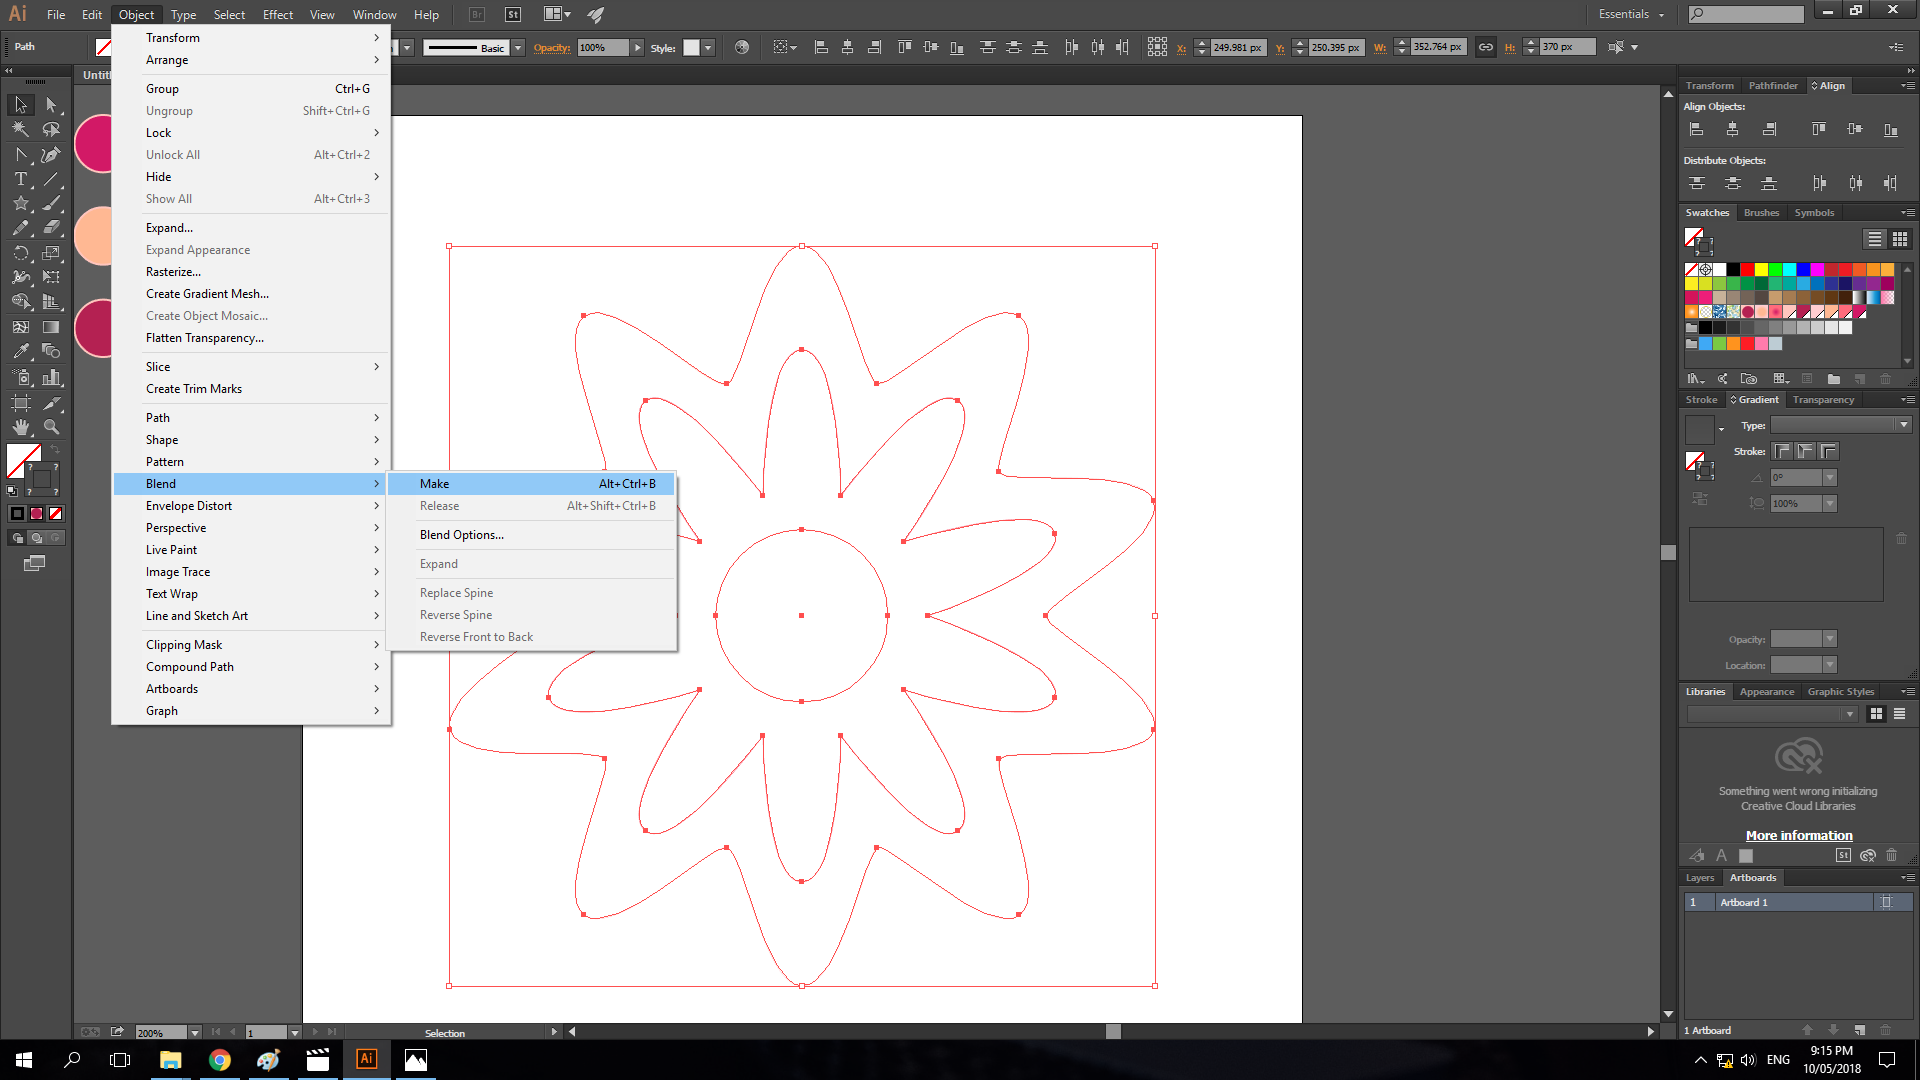
- Then after that, to apply the blend, I went to Object > Blend > Make.
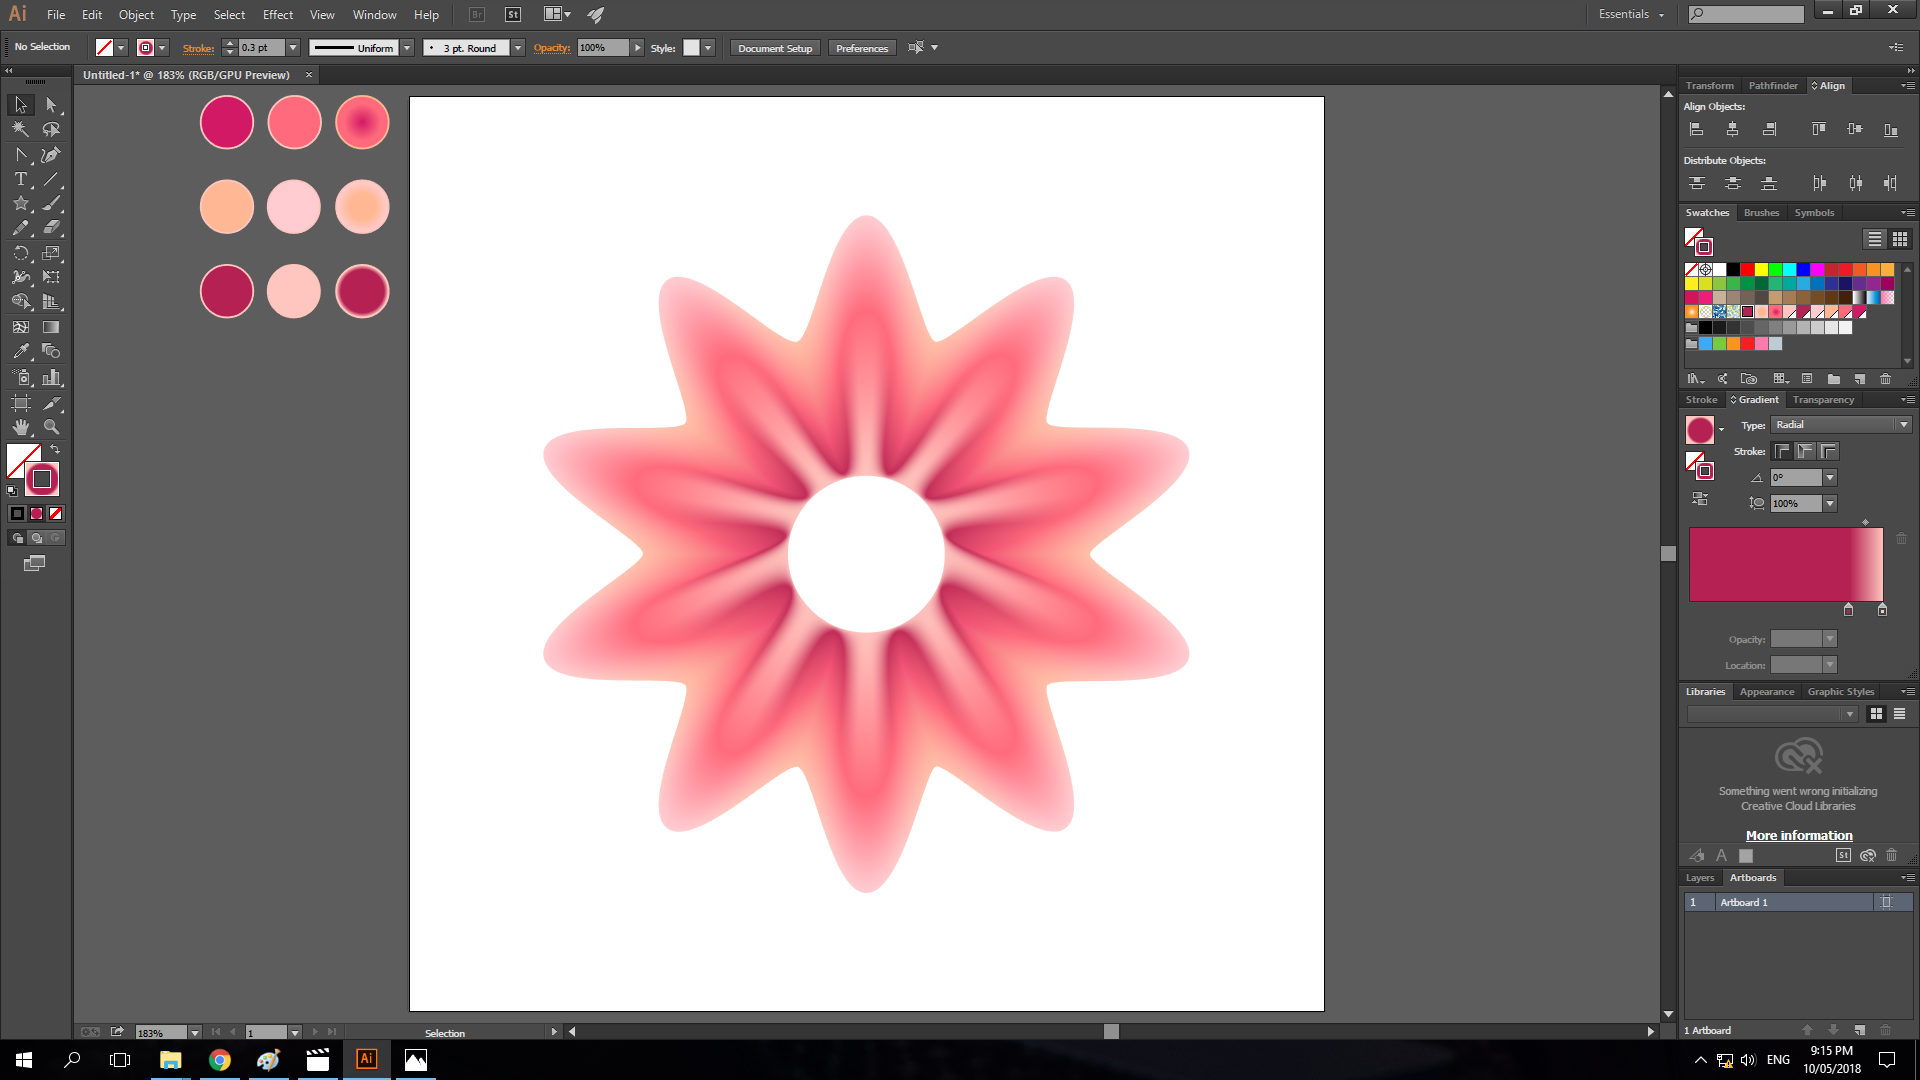
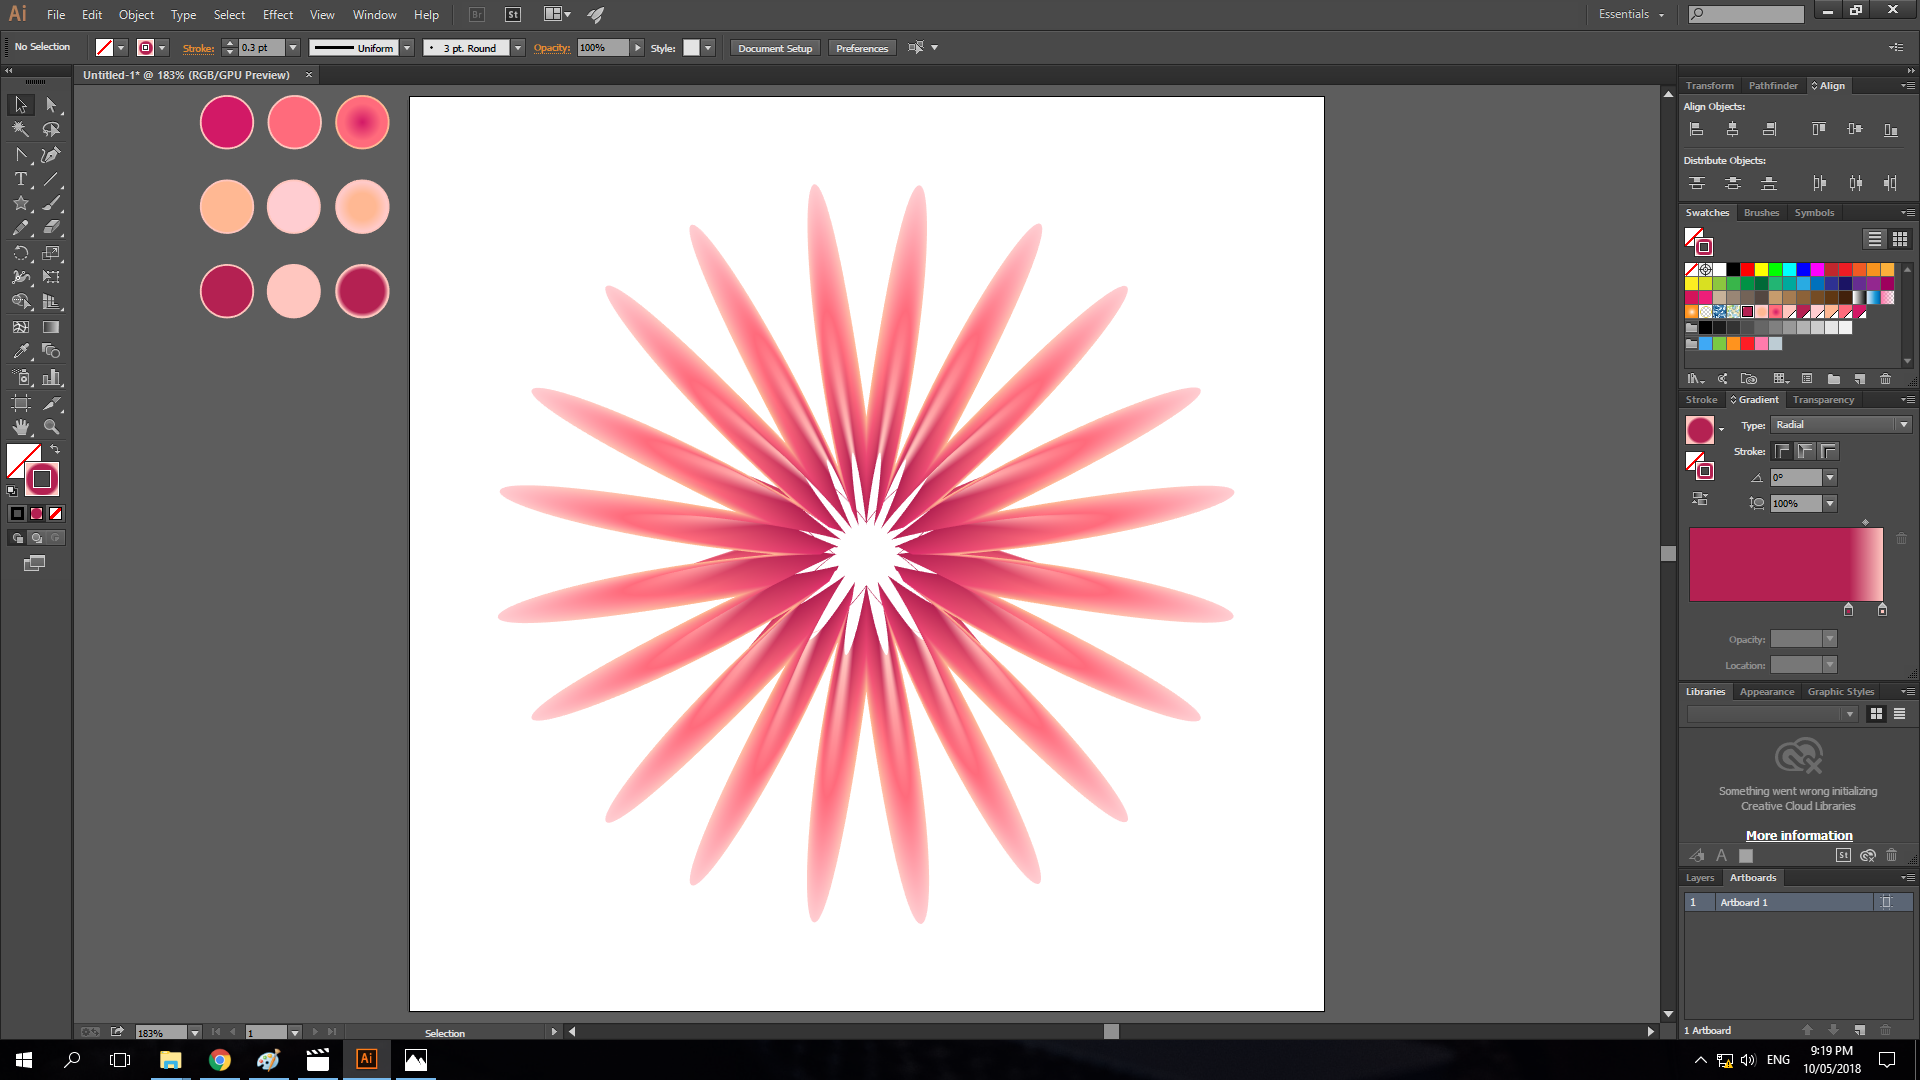
- After the blend is applied, this is how it will look like.
- I added an effect. I went to Effect > Distort & Transform > Pucker & Bloat. Then I set the percentage to 60%.
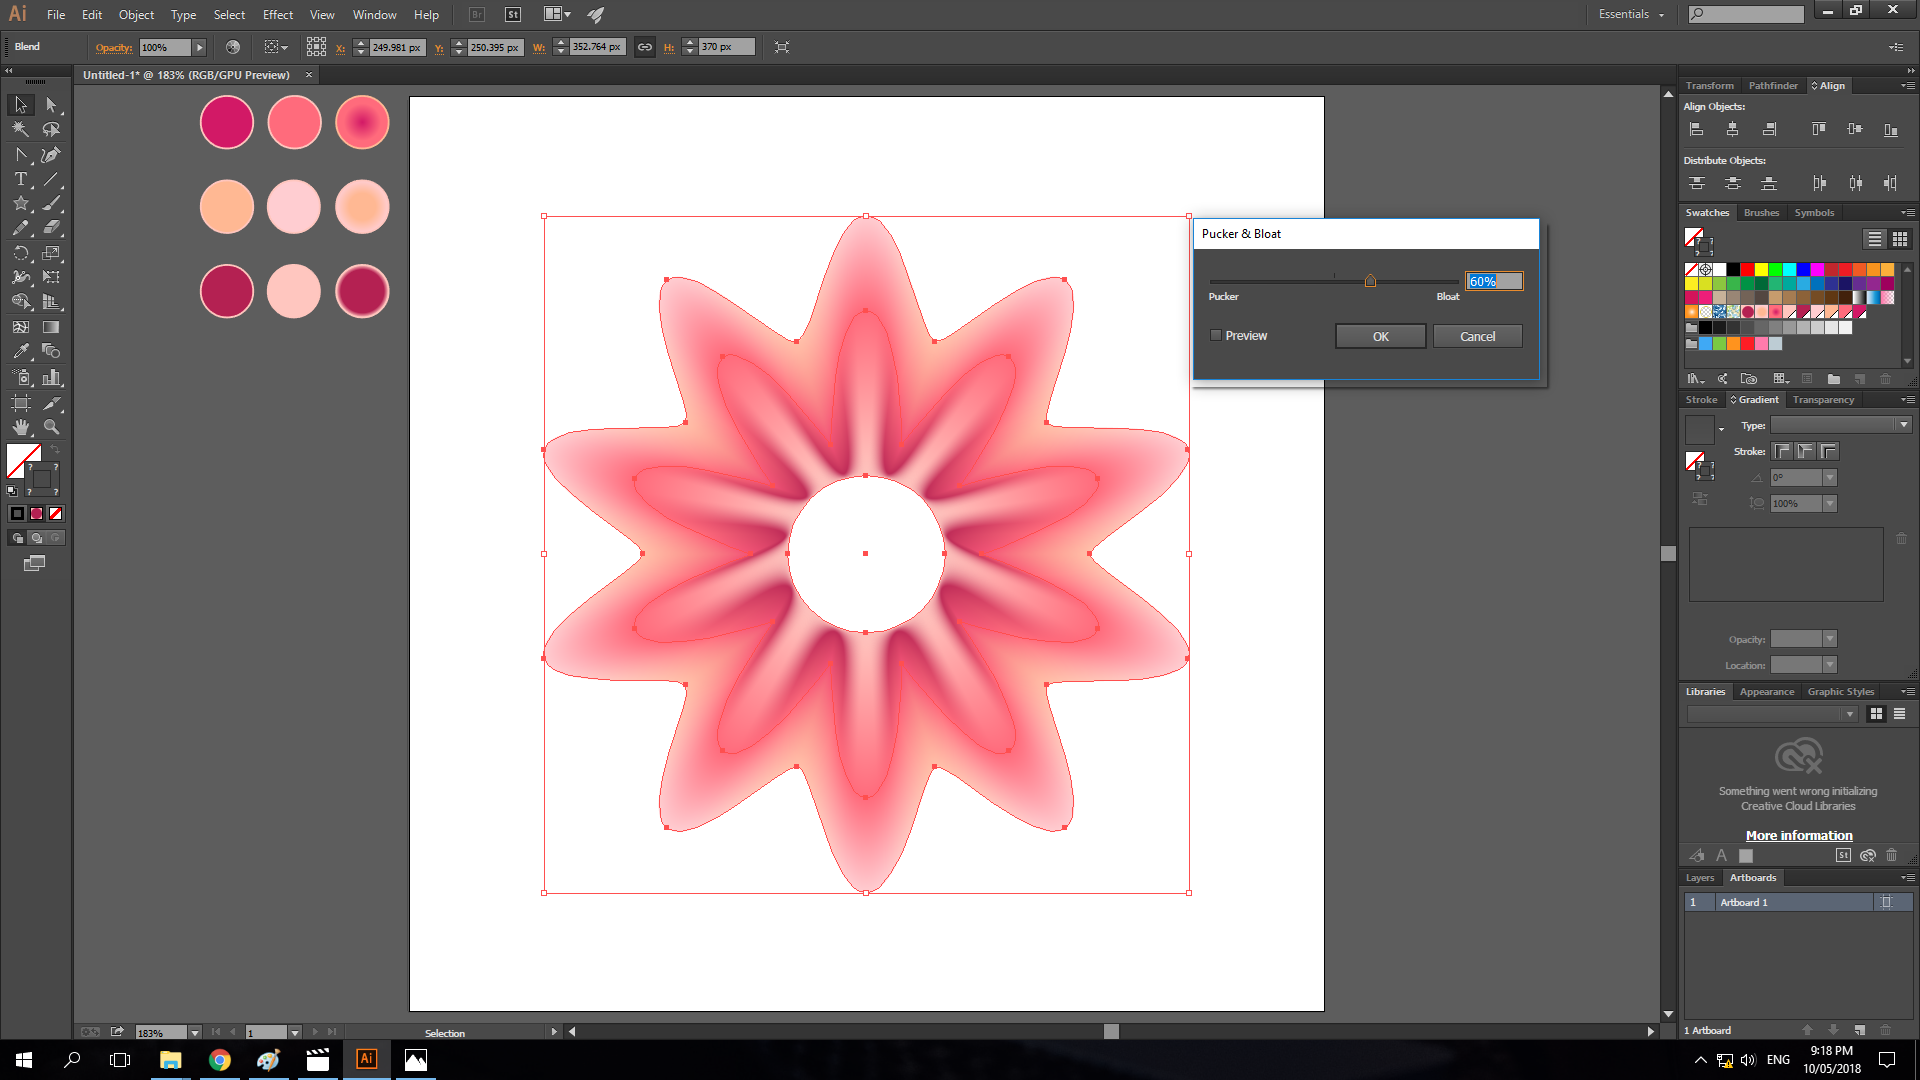
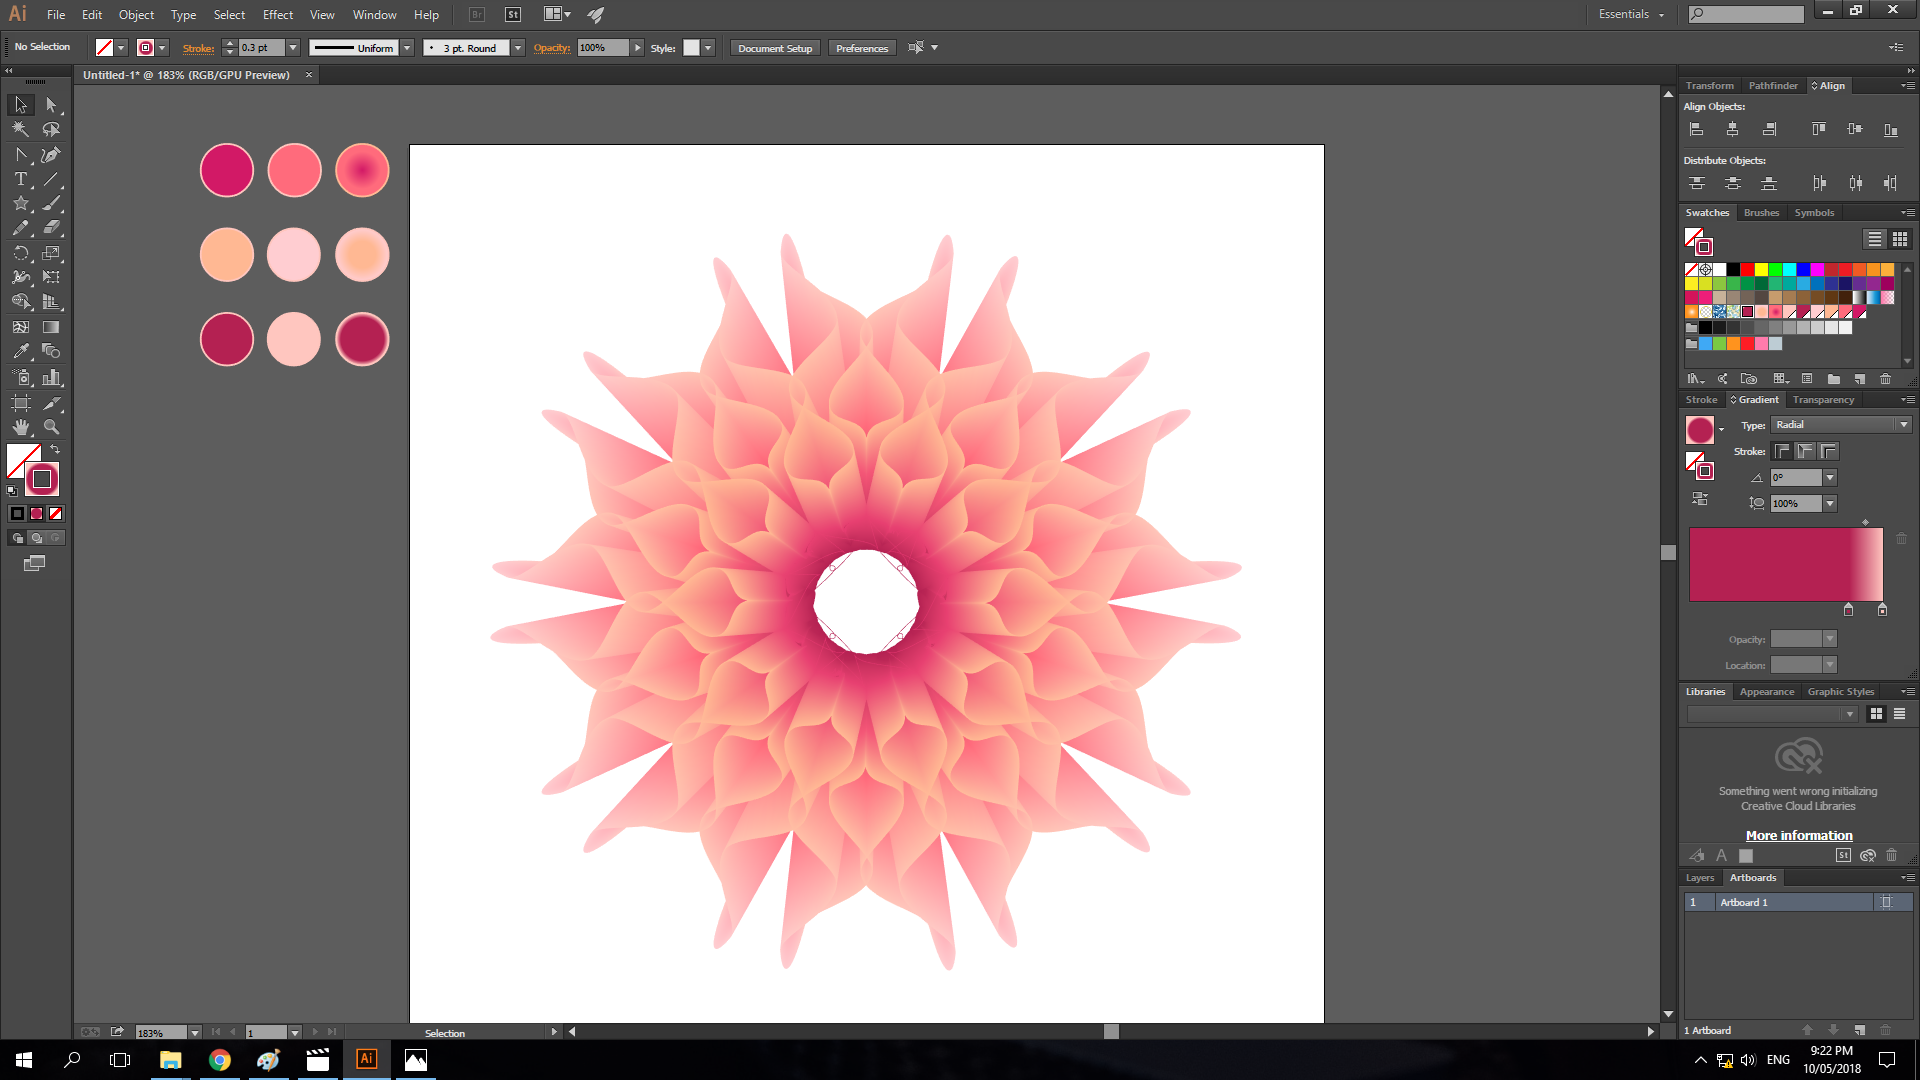
- After applying the effect, this is how it will look like.
- I then added another effect. I went to Effect > Distort & Transform > Zig Zag. I then set the values to 15px for the Size then 7 for the Ridges Per Segment and the Smooth option for the Point.

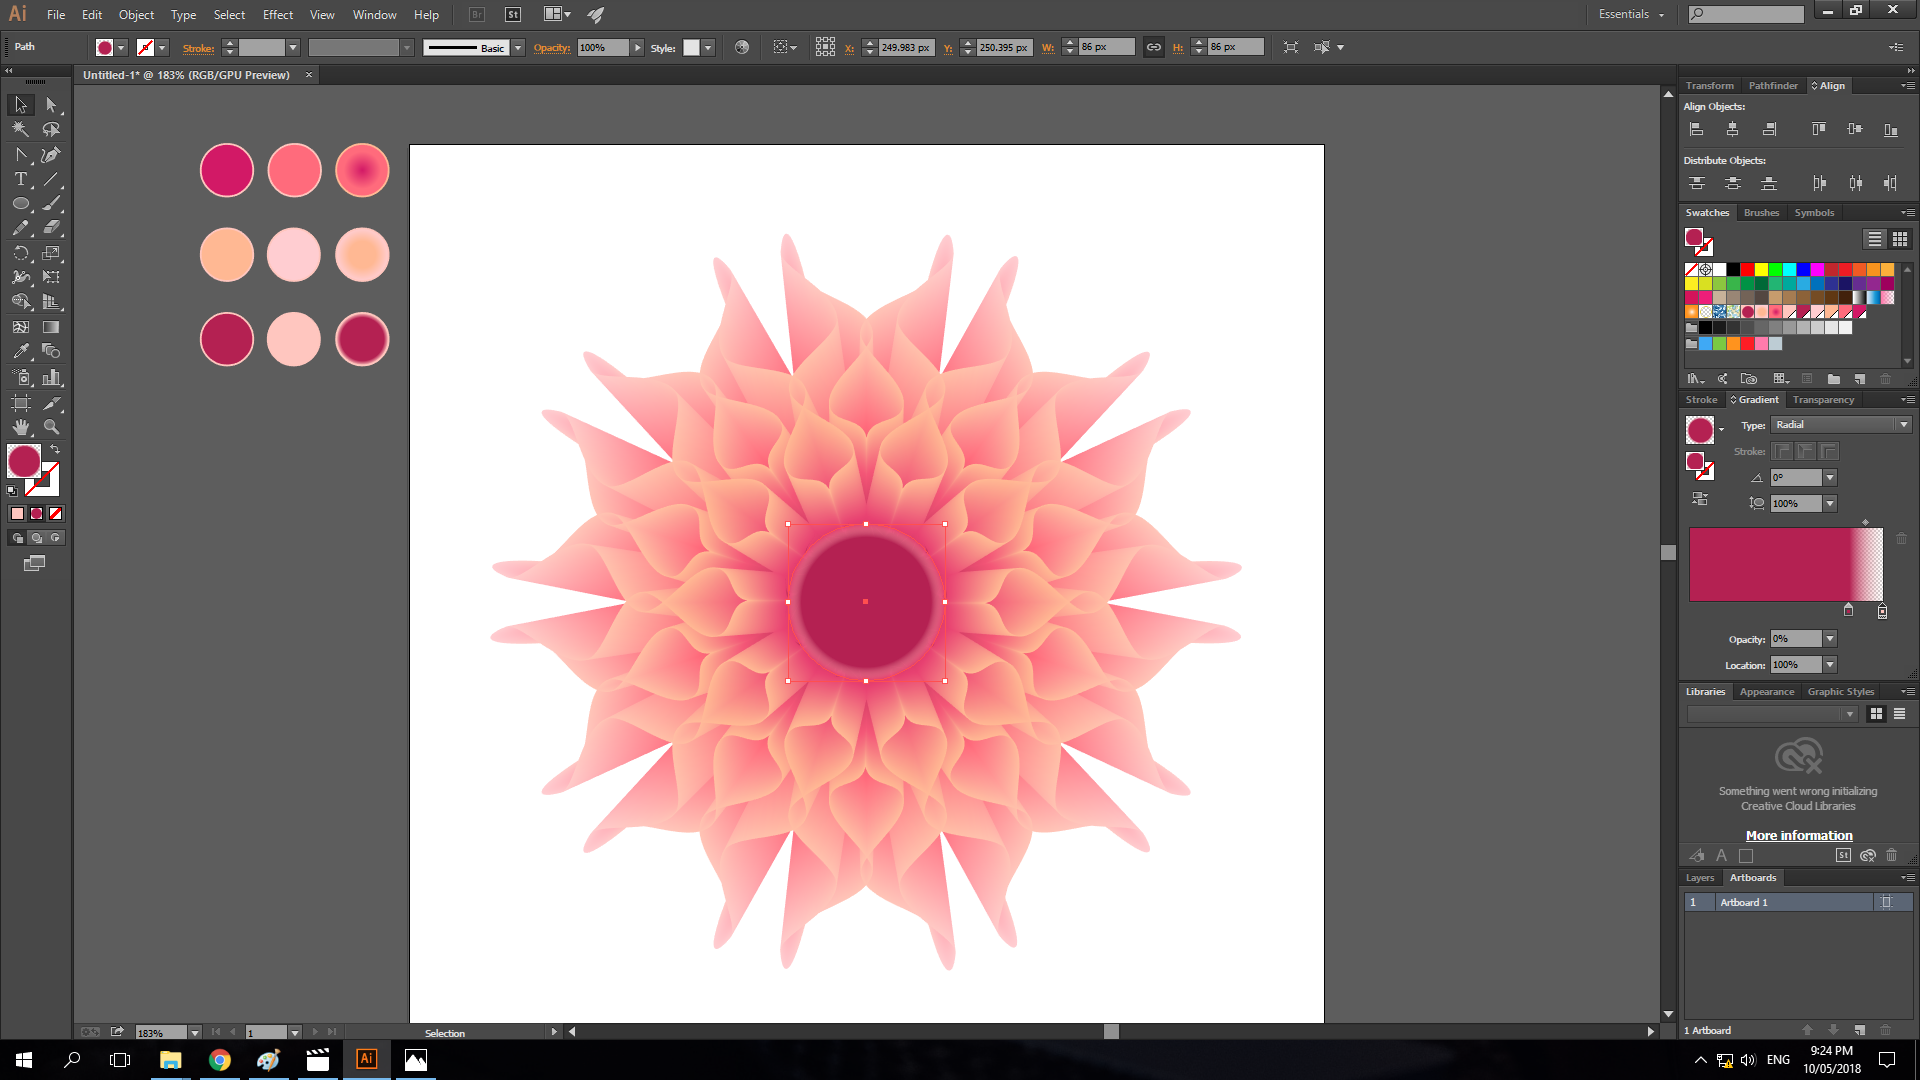
- After the Zig Zag Effect is applied it will look something like this.
- Then lastly, I made a new circle at the middle and filled it with gradient with the other color of the gradient's fill opacity set to 0.
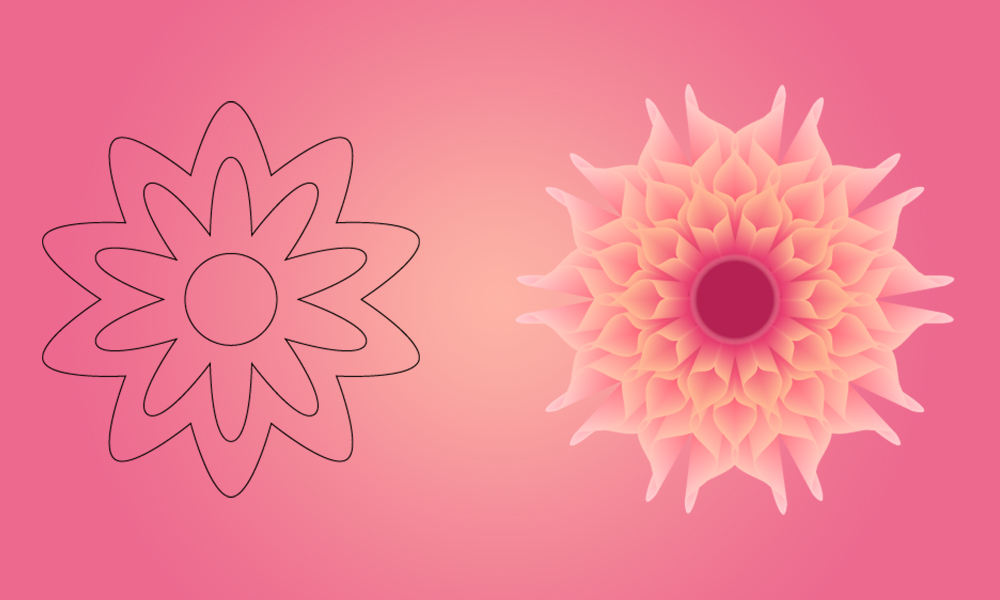
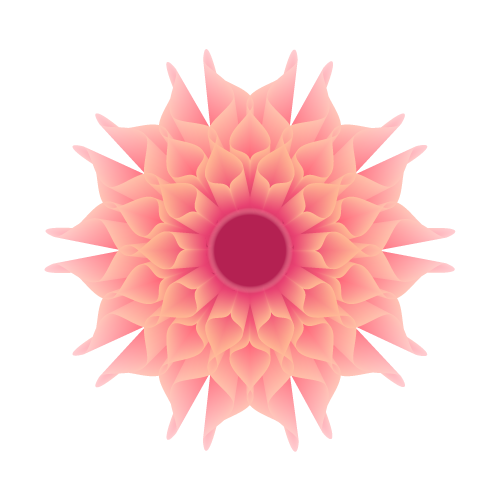
- This is the final output of the design in png.
Creative Commons License

This work is licensed under a Creative Commons Attribution 4.0 International License.
Download
If you would like to try it out and make something like this, I had provided a working file with the finished design and the colors that I had used.Your opinion is celebrated and welcomed, not banned or censored!